The following example demonstrates how to create an Agent, a Disk Safe, and a Policy.
A PHP file called SelfManaged.php can be found in <installdir>/apisamples. Read more in Accessing Example API Functions.
Sequence of Automated Actions
The following steps can be accomplished by using this script:
- Create an Agent. The Agent is the server or PC you want to back up. Read more in CDP Agents.
- Create a Disk Safe. This is the storage location of the backed-up data. Read more in Disk Safes.
- Create a Policy. This is the task which configures the backup. Read more in Policies.
How to Fulfill Appropriate Actions in CDP User Interface
Below, you can find the steps to take in the program user interface in order to perform the same actions as the script. See the accompanying screen-shots illustrating the scripts for every step.
First Step
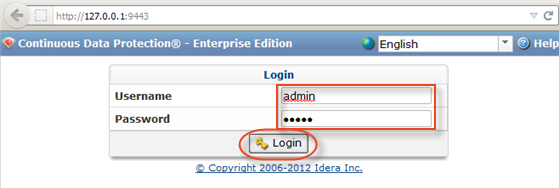
Creating an Agent
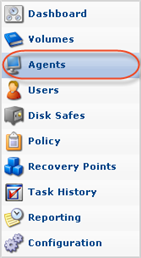
1. Click on "Agents" in the Main Menu to access the "Agents" page.
2. Then click "Create New Agent" in the "Agents" menu located in the top left area of the interface.

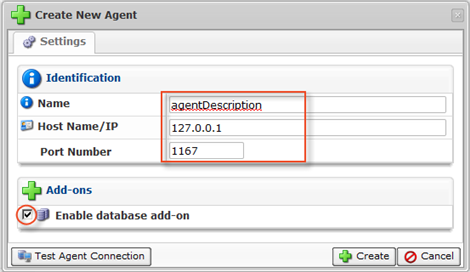
3. The "Create New Agent" window will appear. You will need to define the following options:
- Name - Enter a name for the Agent. It will be displayed in the "Agents" List. In this case, it is "agentDescription."
- Host Name - Enter the Host Name or IP address of the Agent. In this case, it is 127.0.0.1.
- Port Number - Define a Port to connect to the Agent, if different from the default value (1167).
You should also enable a database add-on in the corresponding check-box.
4. Click "Create."

5. Click "OK" in the "Success" window.

See also Adding the Agent to the CDP Server.
Creating a Disk Safe
1. Click on "Disk Safes" in the Main Menu to access the "Disk Safes" page.
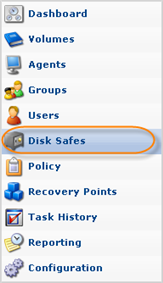
2. In the "Disk Safes" menu, click on "Create New Disk Safe."
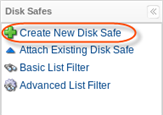
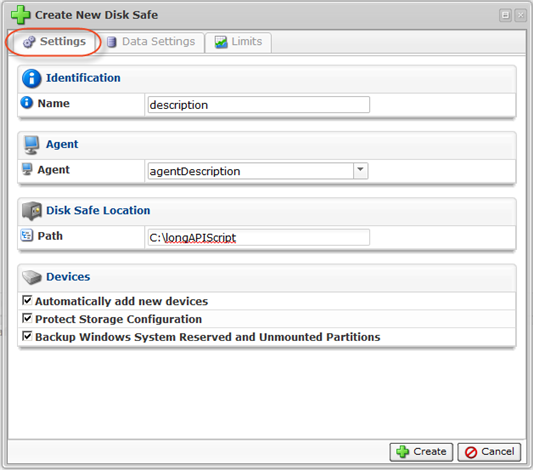
3. The "Create New Disk Safe" window will open. You will need to define the following options:
Settings Tab
- Name - Define the name for the Disk Safe. It will be used to identify the Disk Safe in the list. In this case, it is "description."
- Agent - Here, you should select an Agent from the drop-down menu. In this case, it is "agentDescription."
- Path - Path where the Disk Safe is physically located. In this case, it is C:\longAPIScript.
You can also enable the following options in the corresponding check-boxes: - Automatically add new devices - This option will automatically add all available Devices to the Disk Safe.
- Protect Storage Configuration (Enterprise Edition, Advanced Edition) - This option allows you to back up partition tables.
- Backup Windows System Reserved and Unmounted Partitions (Advanced Edition) - This option allows you to back up a hidden Windows system partition.
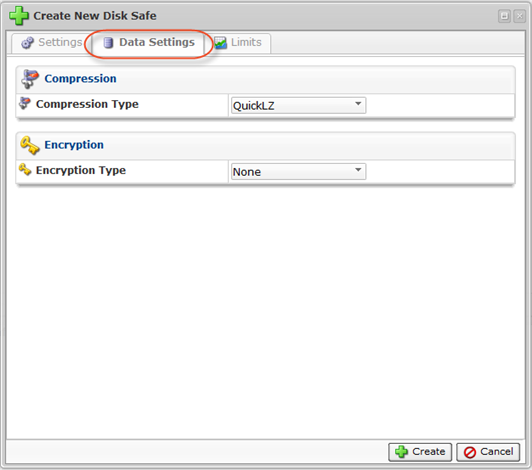
Data Settings Tab
- Compression Type - The compression level set for the Disk Safe. In this case, it is "QuickLZ."
4. Click "Create."

5. Click "OK" in the "Success" window.

See Creating Disk Safes.
Creating a Policy
1. Click on "Policy" in the Main Menu to open the "Policies" screen.

2. In the Policy menu, click on "Create New Policy."

3. The "Create New Policy" window will open. Define the following options in the "Policy Settings" tab:
- Enabled - Select this check-box to enable the Policy. The Enabled Policy will run according to the schedule.
- Name - Enter a name you can use to identify this Policy among others in the Policies list. In this case, it is "nameOfPolicy."
- Description - Describe the details of your Policy. In this case, it is "descriptionOfPolicy."
- Disk Safe - From the drop-down menu, select a Disk Safe in which to save the replicated data. In this case, it is "description."
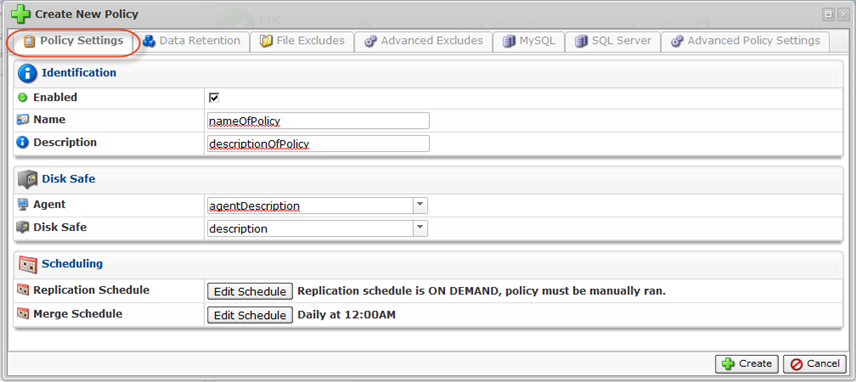
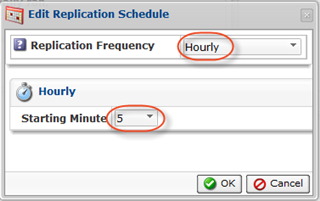
4. Click "Edit Schedule" to edit the replication schedule.

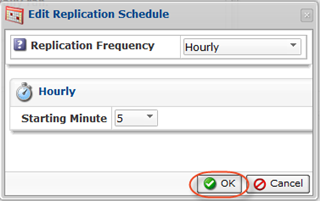
Choose "Hourly" as the Replication Frequency and "5" as the Starting Minute.
Click "OK."
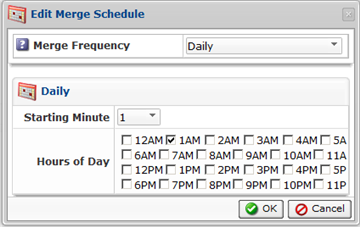
5. Click "Edit Schedule" to edit the merge schedule.

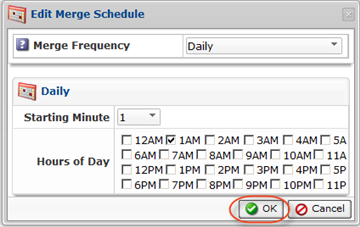
Define "Daily" as the Merge Frequency and "1" as the Starting Minute.
Click "OK."
6. Click "Create."

7. Click "OK" in the "Success" window.

See Creating Policies.
