Follow the instructions given below to create a new User account in CDP.
| Note Super-Users always have the ability to add new Users into the system. A Normal User may be able to add new Users if the corresponding option is checked for the User. |
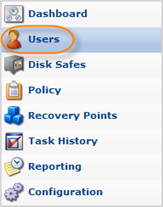
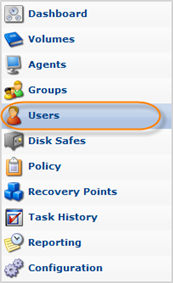
1. Click on "Users" in the Main Menu.
| Advanced Edition | Enterprise Edition |
|---|---|
 |
 |
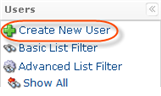
2. In the "Users" menu, click on "Create New User."
| Note Normal Users may be able to create new Users. In such cases, the "New User" button is disabled. The ability to create Users is defined and can be changed by a User's Administrator. |
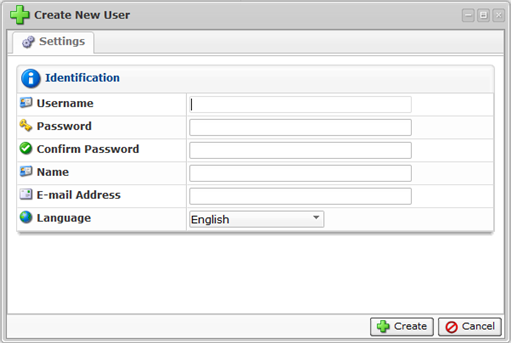
3. The "Create New User" window will open.
| Advanced Edition | Enterprise Edition |
|---|---|
 |
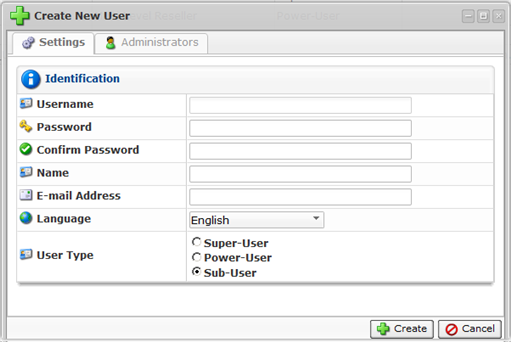 |
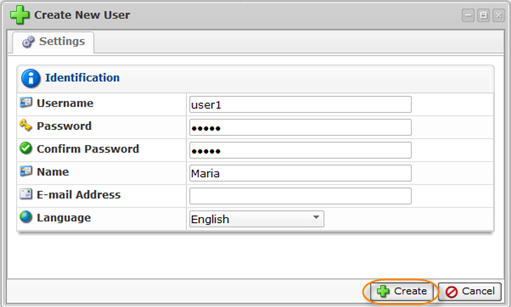
4. Define the new User properties in this window:
- Username - Enter a login name for the User's account.
- Password - Enter a password for the User's account.

Note
The username and password are case-sensitive.
- Confirm Password - Reenter the same password for the User's account.
- Name - Enter the User's name.
- Email Address - Enter the email address of the User.
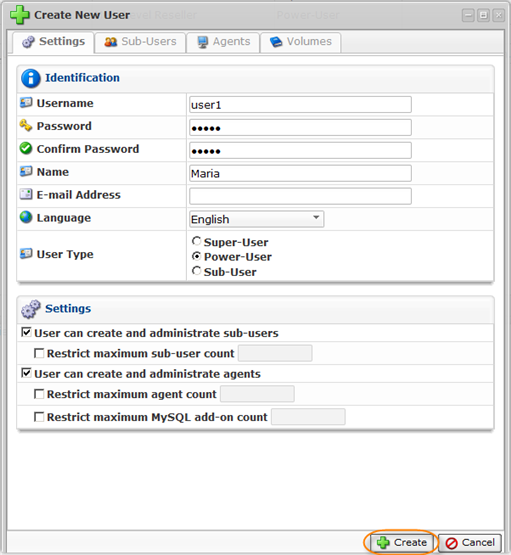
- User Type (Enterprise Edition) - Choose the type of User: Super-User, Power-User, or Sub-User. A Power-User has the option to assign Sub-Users; a Sub-User has the option to assign Administrators.
- Groups - To assign a Group to the User, select a group name from the drop-down menu and click on the "Plus" icon. You can assign several Groups to one User. Read more in Users and Groups.
- Administrators - To assign an Administrator to a User, select an Administrator from the drop-down menu and click on the "Plus" icon.
- Sub-Users (Enterprise Edition) - Power-Users can assign Sub-Users. To assign a Sub-User, select a User name from the drop-down menu and click on the "Plus" icon. You can assign several Sub-Users to a Power-User.
- Agents - To assign an Agent to a User, select an Agent name from the drop-down menu and click on the "Plus" icon. You can assign several Agents to a User. Read more in CDP Agents.
- Volumes - To assign a Volume to a Power-User, select a Volume name from the drop-down menu and click on the "Plus" icon. You can assign several Volumes to a Power-User.
- Language - New in version 4.0. To choose the default language for a User, select one from the drop-down menu:
- Use Server’s default - Every User’s default language is that of the Server’s default language unless and until a User chooses a different language. If no default Server language has been set, the default language will be English.
- English
- Spanish
- Japanese
| Tip While creating and editing other Users, you can set their languages as "Japanese" or "Spanish," but leave "English" as your own default language. |
| Note Choice of a language is based on which messages_*.properties files are installed. This may be set/overridden on a User-by-User basis. When the language is changed, the GUI must refresh the text to the selected language immediately. If no language is chosen, English will be the default. If a User-chosen or stored language pack is not available, it will default to CDP Server default, which in turn defaults to English. |
5. Click on "Create" to add a new User with defined properties.
| Advanced Edition | Enterprise Edition |
|---|---|
 |
 |
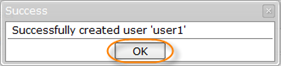
6. You will then be informed as to whether the User was successfully created. Click "OK" in the displayed dialog.
Labels: