Vacuuming Disk Safe allows you to reduce the on-disk size. Block Stores are vacuumed in-place when the Vacuum function is selected by a user.
Follow the instructions below to vacuum a Disk Safe in Data Center Console.
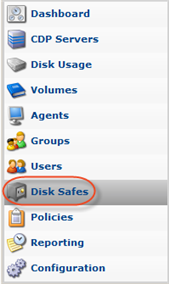
1. Click "Disk Safes" in the Main Menu to access the "Disk Safes" page.
2. In the "Disk Safes" list, find the Disk Safe you need and click the "Vacuum" icon located in the "Actions" column next to the appropriate Disk Safe.

| Tip To find a Disk Safe, you can use the Basic and Advanced List Filters. See Monitoring Disk Safes in Data Center Console. |
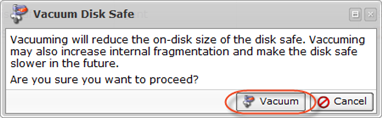
3. After clicking the "Vacuum" icon, a warning window opens. Confirm your request to vacuum the selected Disk Safe by clicking "Vacuum."
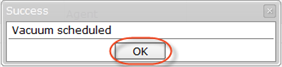
4. You will receive a notification that the Vacuum Task has been scheduled. Click "OK." The Task will run immediately after its creation.
| Tip The Task results can be sent via email as a Report. See Data Center Console Email Reporting. |
Bulk Vacuuming
1. Select some or all disk safe to vacuum using the check boxes.

2. Click on the "Vacuum selected" button.

3. Confirm your request to vacuum the selected Disk Safe by clicking "Vacuum" in the warning window.