Unlike CDP Server products that are installed in one step, Data Center Console (DCC) requires some configuration prior to the installation as well as some additional manual steps after the initial install of the software package.
Read about the previous step here: Prerequisites for Installing Data Center Console.
Follow the instructions below to install and configure Data Center Console on Windows.
Installing Data Center Console on Windows
1. Log on to the Windows server as a member of the local Administrators group.
| Notice You should install Data Center Console on an independent host that does not have a CDP server installed. |
2. Navigate to the directory where you saved the DCC installation file. The installer will have a name that is similar to the following:
- File name: R1Soft-DataCenter-Console-3.18.2.zip.

See Also
Checking Windows Bit Version -
Instructions on how to determine whether a computer is running a 32-bit version or a 64-bit version of the Windows operating system.
3. Extract the file from the archive. Execute the installer by double-clicking "R1Soft-CDP-DataCenter-Console-win64-3.18.2.exe."
4. In the next window, select a destination folder and click "Install."
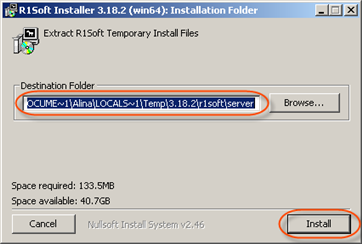
5. Wait while the files are extracted.
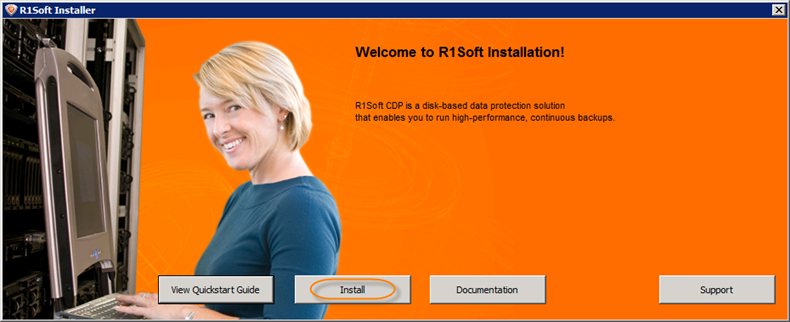
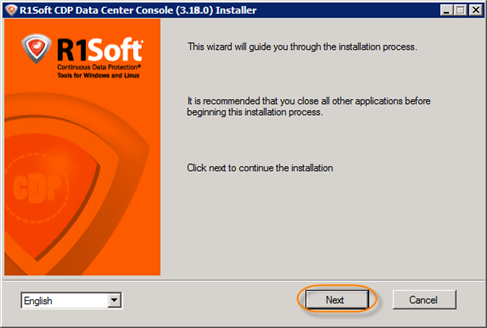
6. The "Welcome to R1Soft Installation" window appears. Click "Install."
7. On the next screen, select "Install Console."
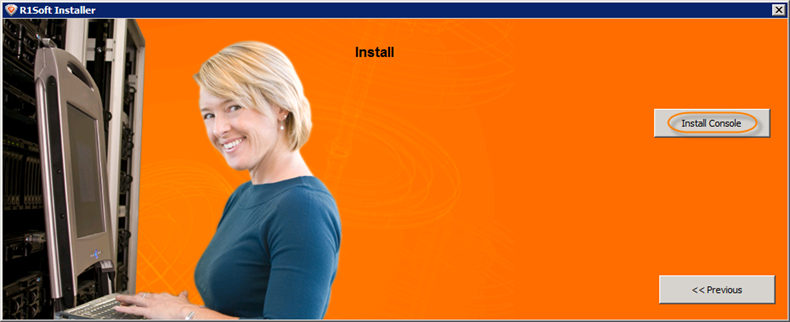
8. Click "Next."
9. The next screen will display the "End-User License Agreement." Read it to the end, select the "I accept..." check-box, and then click "Install."

10. The installer will check your system for possible problems.
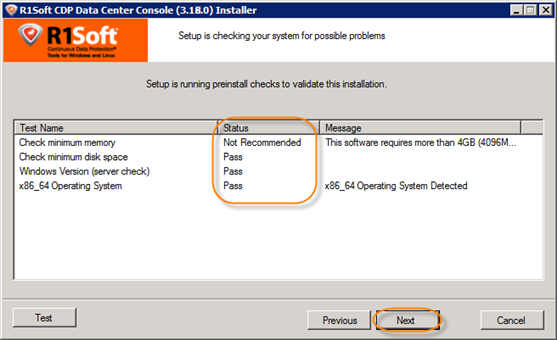
The possible values for the "Status" column are "Pass," "Not Recommended," and "Fail." It is preferable that all tests have a "Pass" status. However, it is still possible to continue the installation with a "Not Recommended" status. Click "Next."
11. On the next screen, choose the installation directory for the Console. It is safe to leave the default location unchanged. Click "Next" to continue.

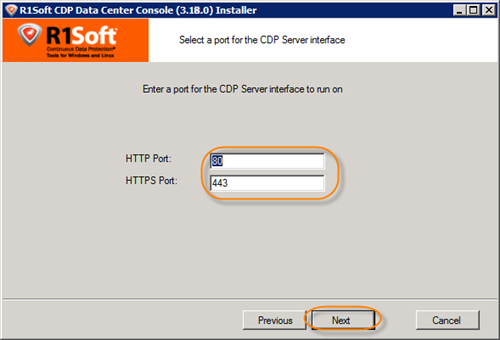
12. Verify the HTTP and HTTPS ports for the Console. It is recommended that you leave the values unchanged. Click "Next."
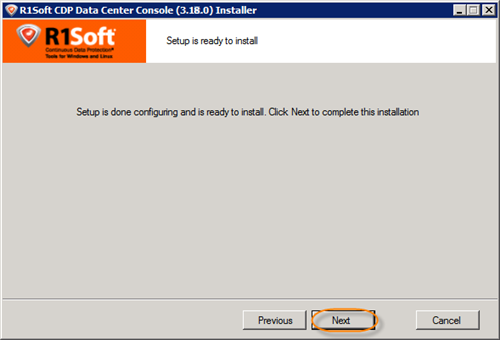
13. The Console is ready to be installed. Click "Next."
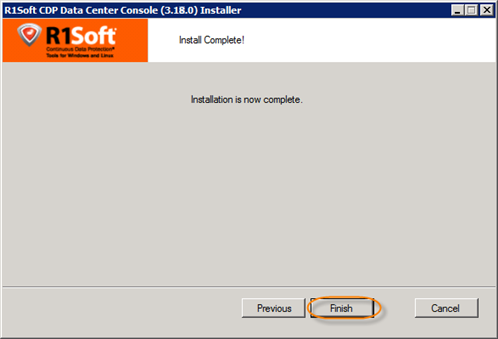
14. The installation process is complete. Click "Finish."
You will need to perform the following steps before you can launch the Data Center Console.
Installing MySQL Java Connector
1. Download the MySQL Java Connector from the following website:
http://www.mysql.com/downloads/connector/j/
2. Under the "Connector/J 5.1.13" heading, click the download link for one of the following files:
- Windows: mysql-connector-java-5.X.XX.zip
- Linux: mysql-connector-java-5.X.XX.tar.gz
Note
As of August 2010, the version used in this example is labeled "mysql-connector-java-5.1.13.zip."
3. Follow the instructions for registration or log in.

Alternatively, skip registration by clicking on the link labeled "No thanks, just take me to the downloads!"

4. You will be provided with the required mirror links. Download and save the file to a temporary directory or known location.

5. Extract the .zip or .tar archive in the location where you downloaded the file.
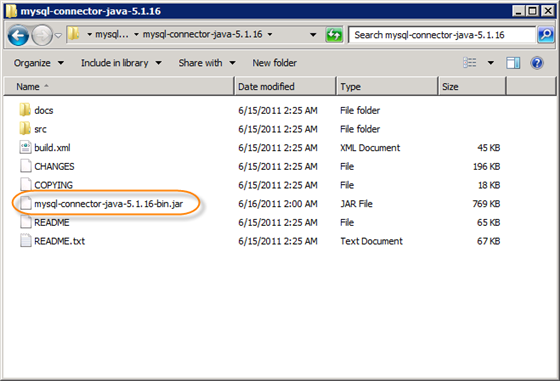
6. Look in the newly created directory for a file called mysql-connector-java-5.X.X-bin.jar. This is the file you need.
7. The connector is a .jar file. It is contained in the archive. After you have downloaded the archive, browse through its contents, locate the mysql-connector-java-5.1.16-bin.jar file, and copy it to the "<DCC Installation Directory>/conf/database-drivers" directory.
Configuring Database Properties
1. Go to "<DCC Installation Directory>/conf" and open the server.properties file. The contents of the file are as follows:
2. Provide the appropriate values for the following database-related properties:
- database-port - Set the database-port to "3306" (without quotes).
- database-server - Set the database-server to "localhost" (without quotes).
- database-username, database-password - Use your MySQL credentials for these values.
- database-name - The name of the database created during the prerequisites step.
3. Save the file.
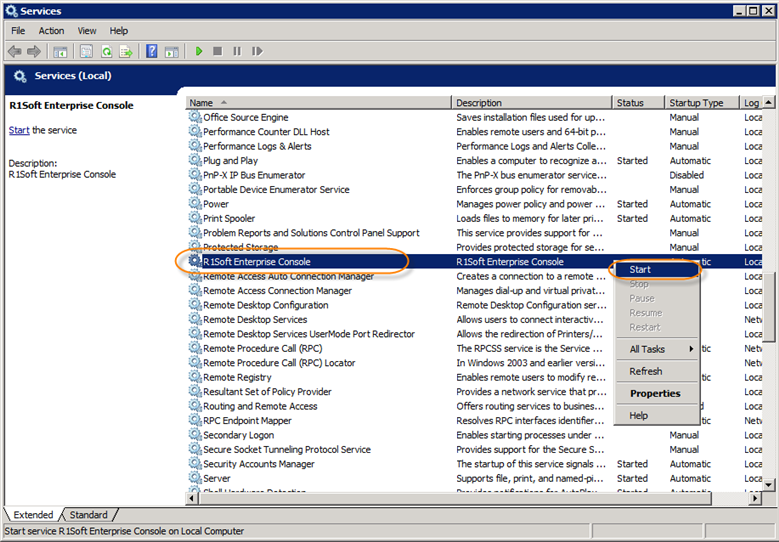
Starting the Data Center Console
Open the Windows Services Panel and start the "R1Soft Enterprise Console" service.
Accessing Data Center Console for the First Time
1. Open a web browser and enter the following URL:
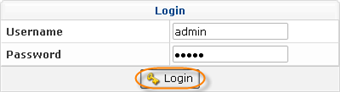
2. In the login form, enter the default username ("admin") and password ("admin"), and then click "Login."