The Server installer is a typical Windows installer application. Once you have obtained the CDP Enterprise Edition installation file, follow the instructions below to install CDP Server 3.18.2 Enterprise Edition. You can find the instructions on how to install CDP Agent 3.18.2 in Installing Agent on Windows and Installing Agent on Linux.
1. Log on to the Windows server as a member of the local Administrators group.
2. Navigate to the directory where you saved the CDP installation file. The installer will have the following attributes:
For a 32-bit system:
- File name - R1Soft-EnterpriseEdition-win32-3.18.2.zip
- File size - 287.32 MB
For a 64-bit system:
- File name - R1Soft-EnterpriseEdition-win64-3.18.2.zip
- File size - 305.67 MB
| See Also Checking Windows Bit Version - Instructions on how to determine whether a computer is running a 32-bit version or a 64-bit version of the Windows operating system. |
| Note The "Enterprise Edition" installer package is capable of installing both Server and Agent software. The "Enterprise Agent" installer package contains only the Agent software and is a much smaller package. |
| Note R1Soft products follow this format for version numbers: MAJOR.MINOR.MAINTENANCE. Pre-release downloads ALWAYS have a version number that has an ODD MINOR number, e.g., 3.7.5. Stable downloads ALWAYS have a version number with an EVEN MINOR number, e.g., 3.8.1. |
3. Extract the file from the archive. Execute the installer by clicking "Run."
4. In the Welcome window, select a destination folder and click "Install."
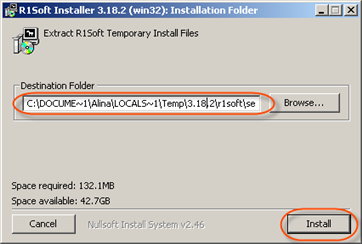
5. Wait while the files are extracted.

6. Click "Install" in the opened window.

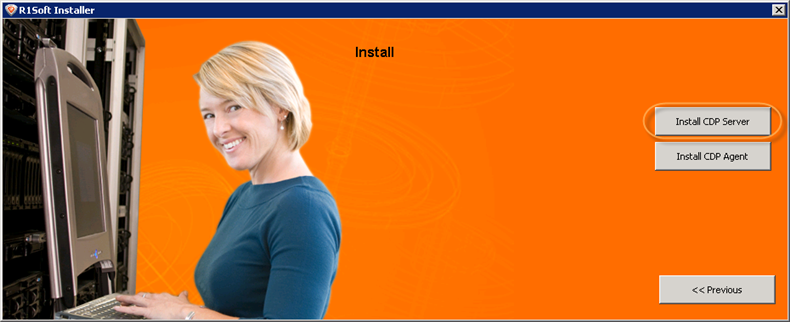
7. Click "Install CDP Server."
8. If Microsoft .NET Framework 2.0 is not already installed on your PC, you will be asked to install it. Click "Yes."

If Microsoft .NET Framework 2.0 is installed, go to Step 13.
9. Click "Next" to start Microsoft .NET Framework 2.0 setup.

10. The next screen will display the "End-User License Agreement." Read it to the end, select the "I accept ..." checkbox, and then click "Install."

11. You will see a progress bar notifying you that the Setup is configuring the install.

Wait while the components are installed.

The system will inform you once the Setup is complete. Click "Finish" to close the ".NET Setup" window.

12. Once Microsoft .NET Framework is installed, you will be returned to Step 7, where you must choose between "Install CDP Server" and "Install CDP Agent." Click "Install CDP Server."
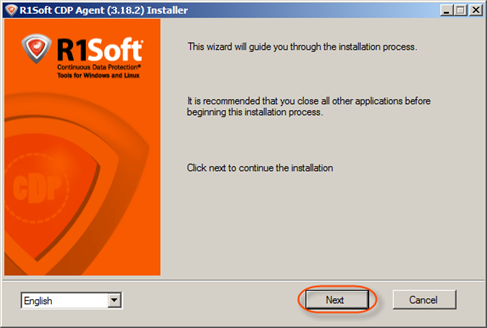
13. The R1Soft CDP Enterprise Edition Installer will open. Make sure that all other applications are closed and click "Next."
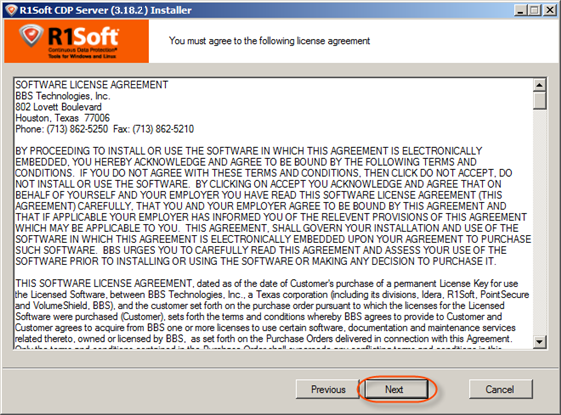
14. You must agree to the following license agreement. Read it to the end and click "Next" to accept.
15. The installer will check your system for possible problems. It is strongly recommended that all tests have a "Pass" status. You can repeat the tests by clicking the "Test" button. Click "Next" to go to the next screen.
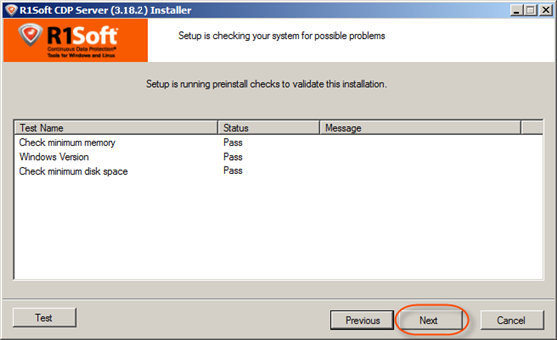
| Note You can find the full list of requirements in Enterprise Edition System Requirements. |
| Note If one or several requirements are not met, then an explanation will be displayed in the "Message" column. For such configurations, further installation is not recommended.  Possible values for the "Status" column are "Pass," "Not Recommended," and "Fail." If possible, correct the configuration and click "Test" again. |
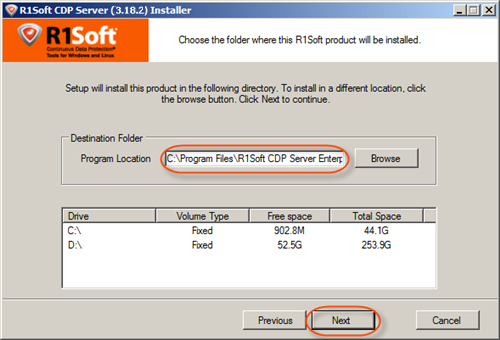
16. On the next screen, choose the installation directory for the server. It is safe to leave the default location untouched. However, you can install the server to another directory if, for example, you do not have enough free space on disk C.
Click "Next" to continue.
17. The "User Setup" window will load. You will be prompted to select the user you want to run the CDP Server as. By default, the "system account" is selected. It is safe to leave the default value untouched. The only exception is when you want to run the server on behalf of a Domain User that has local administrative rights. Make your selection and click "Next."
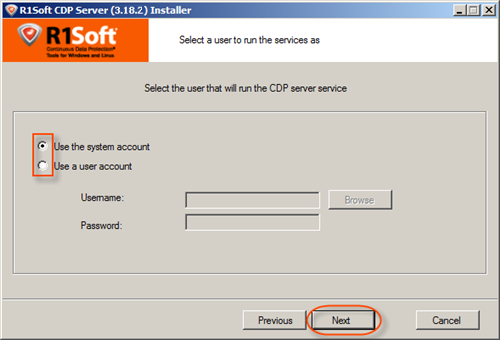
| Note If you are going to store Disk Safes at a network share, make sure the selected user has permission to write to the network share. See also: Error - Could Not Create Disk Safe Directory (CDP Server Knowledge Base). |
| Note The user account can be changed using the CDP Configuration Utility. |
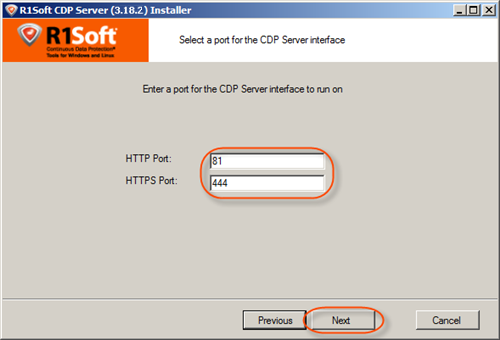
18. Verify HTTP and HTTPS ports for the CDP Server Interface to run on. Edit these fields if necessary. Click "Next."
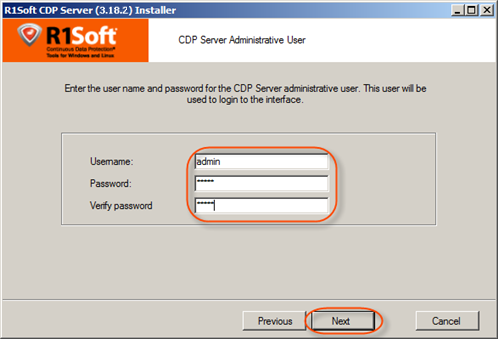
19. Set the Administrative User login credentials. The user name "admin" and the admin password that you select will be used to access the CDP Server via the Web Interface. The password characters will be replaced by asterisks (*) on the screen. Click "Next."
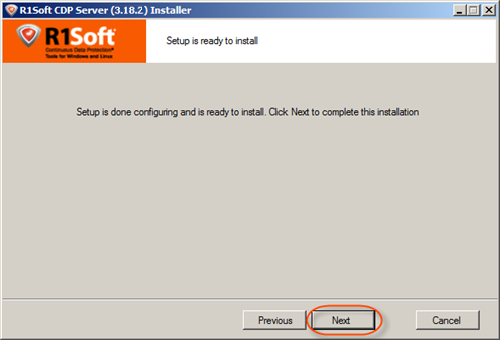
20. The configuration is complete. Click "Next" to start the installation process.
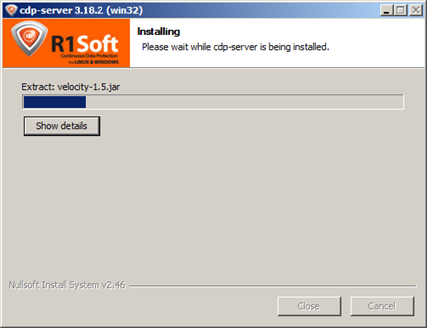
21. The installation process will start.
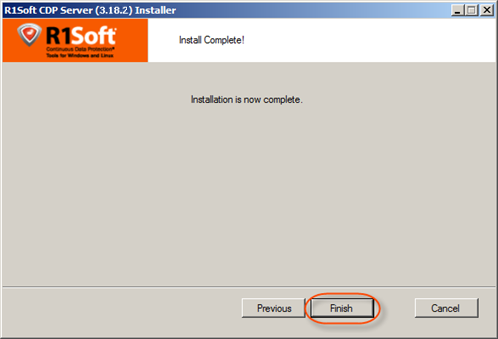
22. Your installation is now complete. Click "Finish."
Proceed to the next steps:
- Configuring Enterprise Edition on Windows
- Installing Agent on Windows
- Installing Agent on Linux
- Accessing Enterprise Edition Web Interface
- Activating CDP Enterprise Edition
- Adding the Server Key to Linux Agent
- Adding the Server Key to Windows Agent
- Configuring Heap Memory
- Configuring Product Features