All data necessary for a restore is kept in Disk Safes. On a physical level, a Disk Safe is a folder containing files/folders.
Follow the instructions below to attach an existing Disk Safe in Data Center Console.
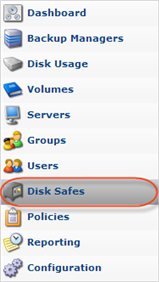
1. Click on "Disk Safes" in the Main Menu to access the "Disk Safes" page.
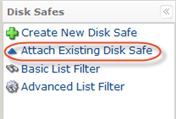
2. In the "Disk Safes" menu, click on "Attach Existing Disk Safe."
3. An "Attach Existing Disk Safe" window opens.
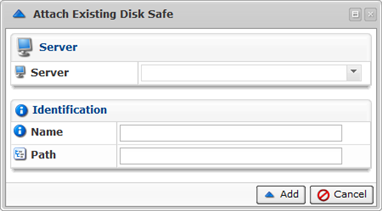
4. Enter the following Disk Safe properties:
- Server - Specify the Server for the Disk Safe.
- Name - Any unique name to identify the Disk Safe in the system. This name will be shown in the "Disk Safes" list.
- Path - Location where the Disk Safe folder is currently saved. For example, D:/disk_safe_websites.
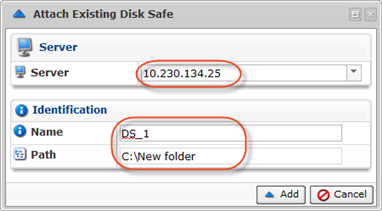
5. Click on "Add."

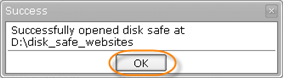
6. A notification window will inform you that the Disk Safe has been opened. Click "OK."
Opening Stopped Disk Safe
To open the stopped Disk Safe, follow the instructions below.
1. In the "Disk Safes" list, click on the "Open" icon located in the "Actions" column corresponding to the closed Disk Safe.

2. A notification window will inform you that the Disk Safe was opened successfully. Click "OK."
3. The Disk Safe will now have the green icon in the "Enabled" column.
Bulk Opening
Using the "Open Selected" button, you can open multiple Disk Safes at once. Follow the instructions below.
1. Select several Disk Safes by selecting the checkboxes in the first column in the Disk Safes list.

2. Click on "Open Selected" located in the "Disk Safes" list toolbar.

3. The Disk Safes will now have the green icon in the "Enabled" column.