Server Backup Manager makes it easy to get a backup started as soon as possible. Once you have downloaded and installed Server Backup Manager and copied the Backup Manager public key to the Backup Agent, you are ready to start your first backup.
First, a new protected machine must be added. When you sign in to Server Backup Manager, the Dashboard page displays the Add a Protected Machine button. Click this button to protect your first machine.

The New Machine screen displays, where you can set up a new protected machine. In addition to adding your machine on this screen, you can install a Backup Agent, create a volume, create a Disk Safe, and create a policy for the new machine all from one convenient location. 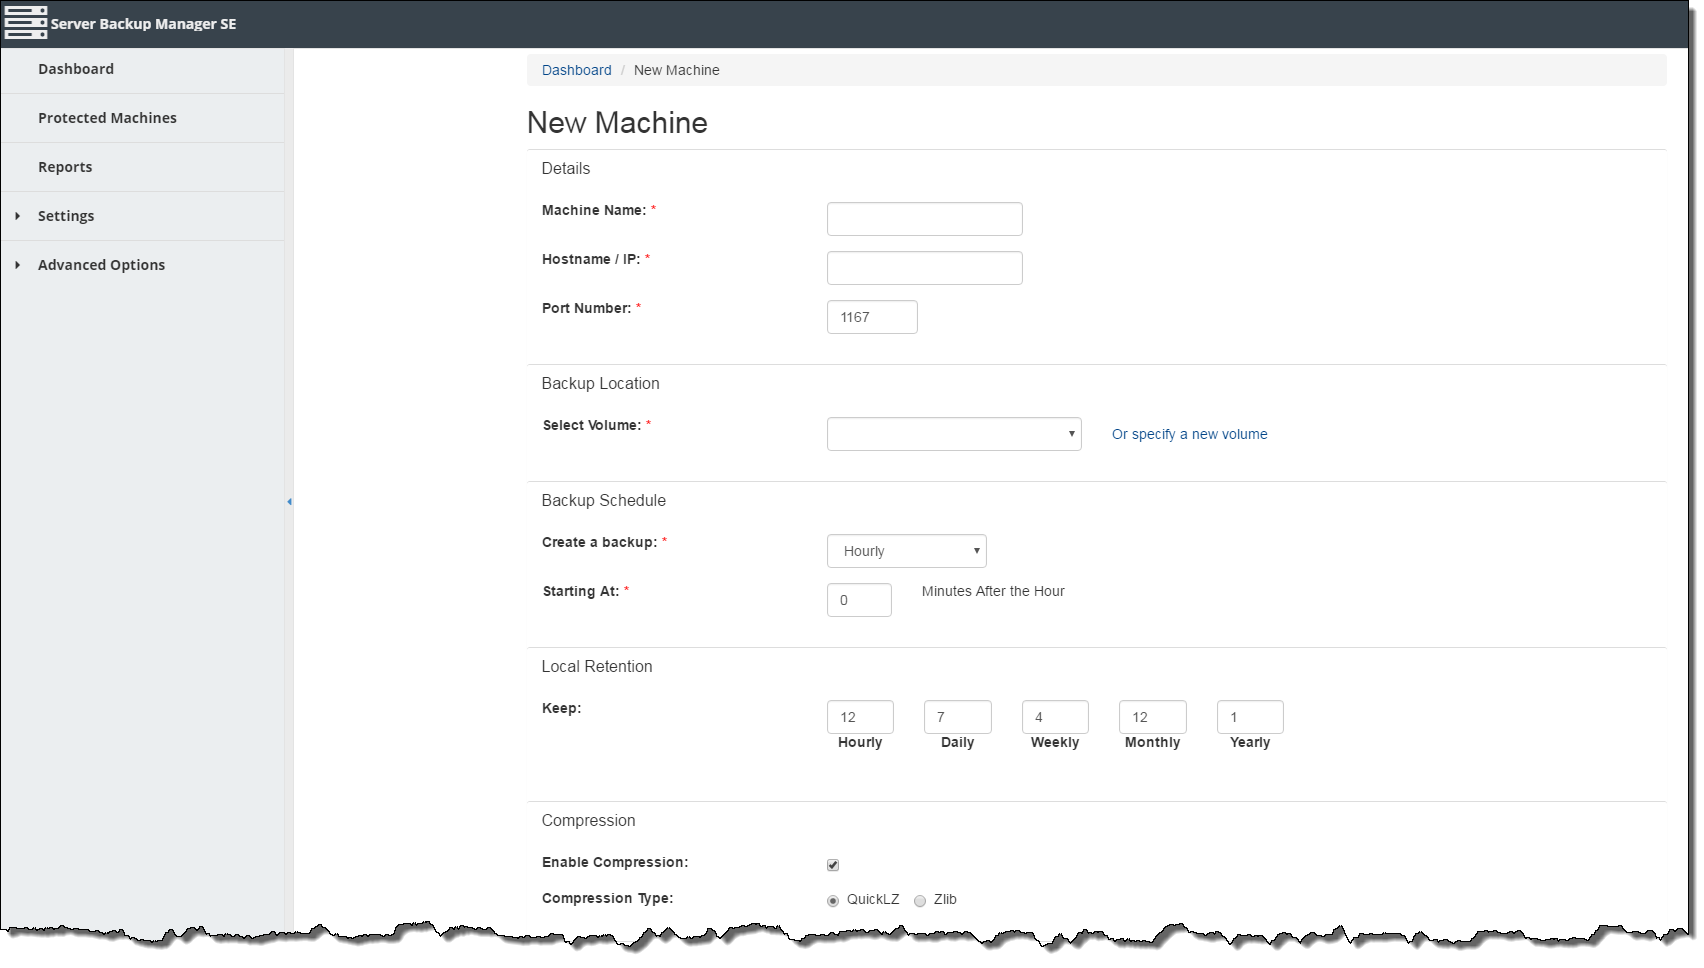
The New Machine screen guides you through all necessary settings across the application in order to configure a backup task for your machine. Once you have completed all the necessary fields on this screen, you will be able to start a backup task for the machine. The New Machine screen is divided into several sections that need to be completed to set up your new protected machine.
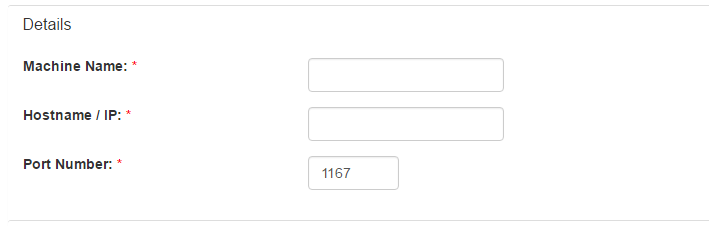
Details
In this section, enter the details of your new protected machine in the following fields:
- Machine Name. Enter the name of the protected machine being added.
- Hostname / IP. Enter the host name or IP address of the machine you are going to backup.
- Port Number. Enter the port number of the machine.
Backup Location
When you are creating a new protected machine, a new Disk Safe is created to store the backups for the new machine. The new Disk Safe is stored in a container of your backed-up data called a volume. Physically, this is a folder on your hard drive.
To add a new volume to the protected machine, click Or Specify a New Volume in the Backup Location section. The Volume Name and Path fields display.

Enter the name of the new volume (such as volume01) in the Volume Name field, and enter the volume path (such as /backups/volume01) in the Path field.
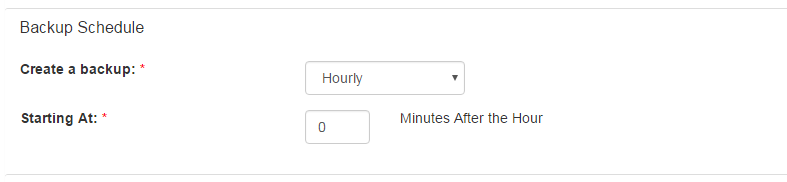
Backup Schedule
In this section, you can decide how often you want your backup to run. You can set up the schedule to run a backup as often as you want. For example, to run a backup every hour on the hour, select Hourly in the Create a backup field and enter 0 in the Starting At field.
Other backup frequency options in the Create a backup field include Minutely, Daily, Weekly, Monthly, or even Yearly. Depending on what you select in this field, the selections in the Starting At field change accordingly. For example, if you select Weekly in the Create a backup field, the days of the week and a starting time display. In this case, you could set the backup to run at midnight every Monday, Wednesday, and Friday.
You can also select On Demand in the Create a backup field if you do not want to schedule a backup and only run backups as needed.
Local Retention
In this section, you can determine how many local recovery points to retain in the volume path entered in the Backup Location section. The fields available in this section differ depending on the selection made in the Create a backup field in the previous section. For example, if Weekly is selected in the Create a backup field, the Hourly and Daily fields are not available in the Local Retention section.

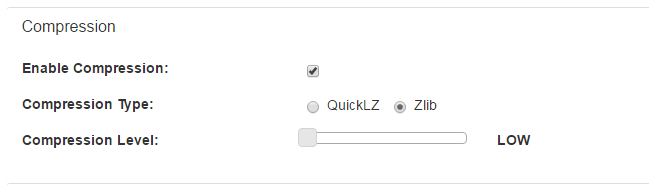
Compression
Compression is a reduction in data size to save disk space or transmission time. R1Soft recommends that you compress your backups, which will save space on the disks where the backups are kept. Compression can be optimized for speed or for the most disk space saved. There are two compression types that can be used for your backups: QuickLZ (fastest) and Zlib (most compression).
To enable compression of your backups, select the Enable Compression check box in the Compression section.
Select the QuickLZ compression type in the Compression Type field if the most important factor is the amount of time required for the compression operation. If the most important factor for your compression is the final size of the compressed file, select Zlib in this field.
If you selected Zlib, use the slider in the Compression Level field to determine the level of compression used: Low, Medium, or High. When making your selection, note that the higher the compression level is, the slower your backup process will be.
Encryption
Encryption allows you to securely protect data that you don't want anyone else to access. AES-256 encryption is offered for your backups. To enable encrypted backups, select the Enable Encryption check box in the Encryption section. You cannot add encryption for backups after creating the Disk Safe.
Enter the passphrase for the backup encryption in the Passphrase field, and enter it again to confirm in the Confirm Passphrase field. A passphrase is used like a password but is generally longer and more varied for added security. Your encryption passphrase must meet the following requirements:
- Between 8 and 256 characters in length
- Must contain at least one lowercase and one uppercase character
- Must contain at least one special character, such as #!@$%^&*()

Agent Software
The Backup Agent software must be installed on each machine you want to backup. Select the Deploy Agent Software Now check box in the Agent Software section if the Backup Agent has not already been installed. Enter the admin credentials in the appropriate fields to continue. (Note that you can clear the Deploy Agent Software Now check box if the Backup Agent has already been installed.)
The Reboot Machine After Deployment check box is cleared by default. If you do select this check box, the machine will be rebooted at the end of the Agent deployment. Windows machines must be rebooted after Agent software deployment before backups can begin. Linux machines do not require a reboot after deployment, so this option will be ignored if the target machine is running Linux.
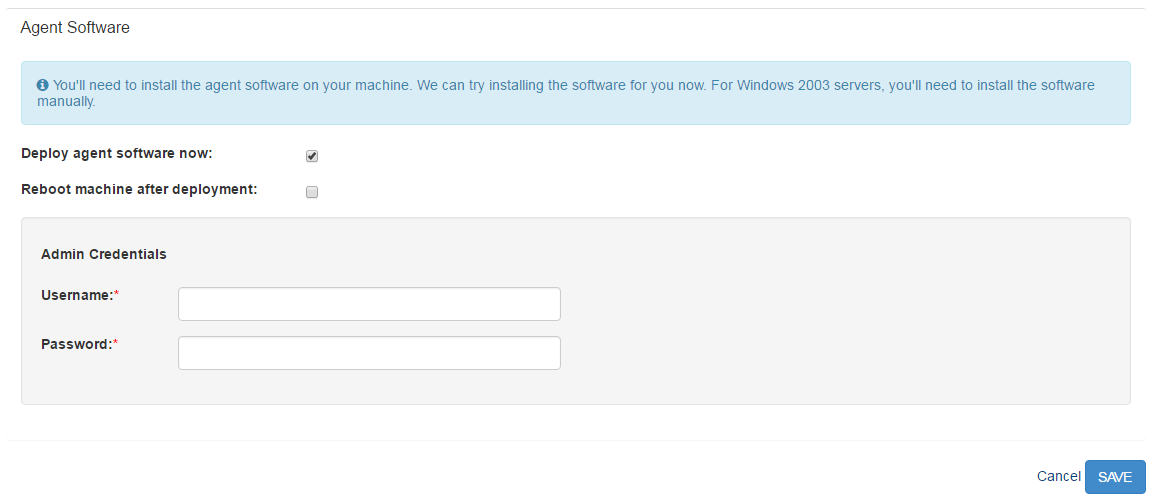
When all the necessary fields on the New Machine screen have been completed, click the SAVE button. The protected machine is saved, and the Dashboard screen displays.
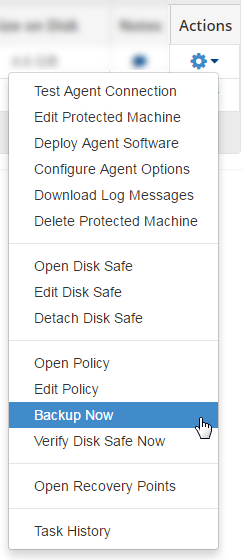
Backup Now
When the machine is added, you are now ready to run a backup. To immediately run a backup for this machine, click Protected Machines in the Main Menu. Click the corresponding Actions menu for the machine you want to backup and select Backup Now.
If you are backing up a Linux machine, the Details for [Machine Name] window displays the status of the backup. When the backup task is completed, the Backup Summary and Replication Statistics display in the Summary tab of the window.
Your machine has been backed up.