When you create users in a Data Center Console, they are automatically "pushed down" to all CDP Servers connected to the Console, and you can then use these entries to log in to the CDP Servers. See Creating Data Center Console Users.
However, when you first log in to a CDP server as a Console user, the user does not have any permissions and will not be able to see any CDP sections or statistics (unless you are a super-user).
![]()
Follow the instructions below to add permissions to a Console user.
1. Log in to the CDP server as a super-user (admin).
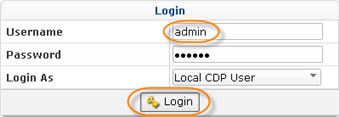
Notice that the login window now has a new drop-down menu that allows you to log in to the CDP Server using the Console user credentials. However, in order to set permissions for Console users, you need to log in as a CDP user. Select "Local CDP User" from the menu.
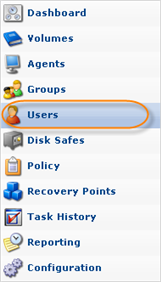
2. Select "Users" from the Main Menu.
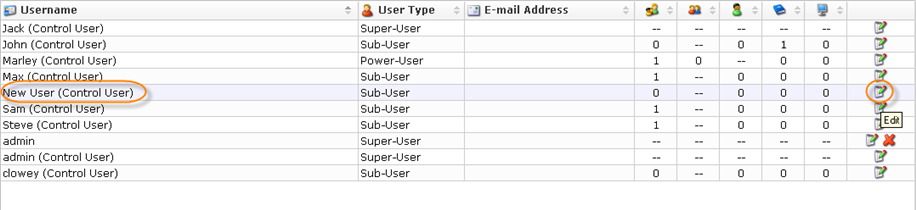
3. The users created via Data Center Console are displayed in the CDP Server's user list with a "Control User" note in brackets. Select the user to whom you want to assign permissions and click "Edit."
4. The "Edit User" window will appear. To set permissions for a user, you need to assign it to an Agent. Select the Agent from the drop-down menu and click "Add."
5. Now you can select permissions. Check the box next to the type of permission you want to assign.
 |
Allows you to edit the Agent's settings. |
 |
Allows you to browse the Agent's Recovery Points (read only). |
 |
Allows you to manipulate disk safes for the Agent. |
 |
Allows you to manipulate Policies for the Agent. |
 |
Allows you to view the Agent's tasks in the Task History Console. |
 |
Allows you to restore files from the Agent's Recovery Points. |
6. Click "Save."
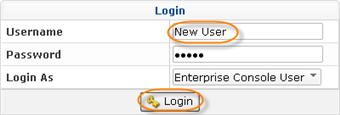
7. Now you can log in to the CDP server using the Console user's credentials.
8. You will see the CDP sections and statistics according to the defined permissions.