It is possible to create new Disk Safes on CDP Servers using the Data Center Console. Follow the instructions below.
1. Select Disk Safes from the Main Menu.
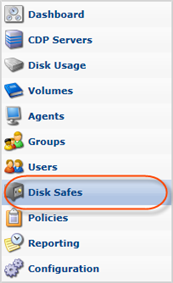
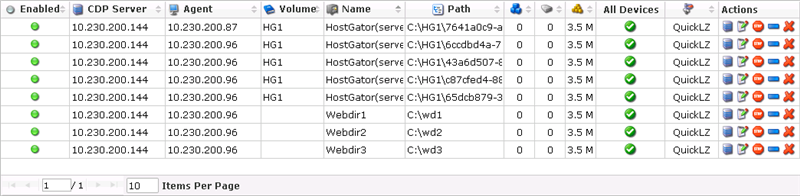
You will enter the "Disk Safes" screen.
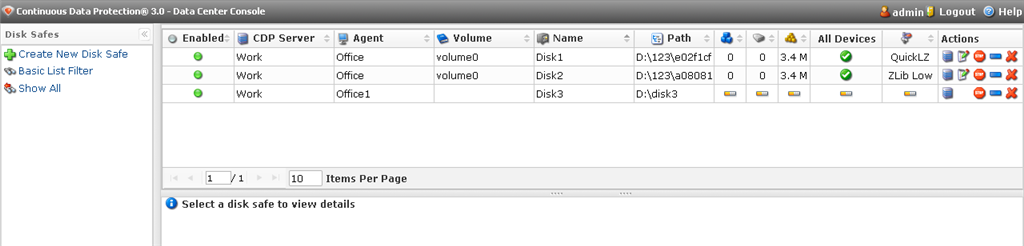
The list of all Disk Safes from all connected CDP servers is displayed.
| Note DCC allows to perform the following actions with the Disk Safe:
|
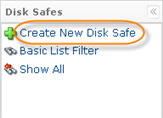
2. Click on "Create New Disk Safe."
3. The "Create New Disk Safe" window will appear.

Select the server from the drop-down menu and click "Select CDP."
4. Fill in all the requires fields and click "Create."
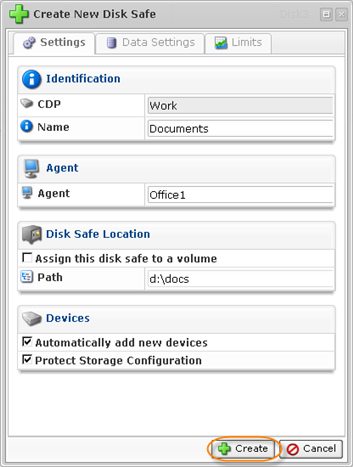
Identification
- Name - Unique name to identify the Disk Safe in the system: in the "Disk Safe" list, while creating jobs, etc. This is a mandatory field.
Agent
- Agent (Enterprise Edition) - Select a CDP Agent for which you create the Disk Safe. The replicas of this Agent will be kept in the current Disk Safe.
Disk Safe Location
- Assign This Disk Safe to a Volume (Enterprise Edition) - You can optionally assign the Disk Safe to a Volume. Volumes allow you to set disk quota. Volumes can have user groups and users associated.
- Volume (Enterprise Edition) - Select a volume to which you will assign the Disk Safe.
- Path - (Standard Edition) Path to the folder where the Disk Safe files will be located. If the defined directory does not exist, it will be created. This is a mandatory field in Standard Edition. Example for Windows: c:\disk_safe

Note
To copy the Disk Safe, you will need to copy its folder defined in the "Path" field.Note
Windows network share should always be specified using a UNC style path (e.g. \\server\share\folder) convention.
Compression
Compression is the reduction in size of data in order to save disk space or transmission time. CDP works with ZLib encoding schemes (also known as Gzip).
- Compression Type - You can select one (1) of three (3) possible values from the drop-down menu:
- None - This is the default value. No compression will be applied.
- QuickLZ - Selecting this value means turning the compression on. The QuickLZ type of compression will be applied.
- Zlib - Selecting this value means turning the compression on. The ZLib type of compression will be applied.
For Backups over the Internet or other slow links, we recommend turning compression on. Disk Safes use ZLib (also known as gzip compatible) compression and are capable of delivering about a 2:1 compression ratio in most environments.
- Compression Level - If the "Compression Type" is not equal to "none," then select a compression level from the drop-down menu. The following values are available to be selected:
- Low
- Medium
- High - This is the most slow but produces the most compact result files.
Devices
You can add one, several, or all Devices.
| Note You will be able to exclude folders/files while creating a policy for this Disk Safe. |
You can select one (1) of the options in the ratio menu:
- Protect All Devices - This is the value selected by default. Selecting this option means choosing all the Devices on the Agent and assigning them to this Disk Safe.
- Choose Devices to Protect - If you select this option, you will be able to define which Devices on the Agent will be assigned to this Disk Safe after clicking on the "Create" button.
- Protect Storage Configuration (Enterprise Edition, Advanced Edition) - Checkbox which allows you to define if to protect the Storage Configuration.
- Protect Unmounted Devices (Enterprise Edition) - This is a Windows only ability to backup file systems that are not mounted (e.g. not assigned a drive letter). The most common use is for Windows 2008 R2 server installs that use the new system reserved partition (not all 2008 R2 installs do this). For more information, see System Reserved Partition notes for Windows Server 2008 R2. We recommend selecting this checkbox if you use Windows 2008 R2 servers with a system reserved partition.
5. The new Disk Safe will appear on the CDP Server.
Please, visit the following pages, in the CDP3 documentation, for more information about Disk Safes, Policies and Agents:
- CDP Agents - General information about the CDP Agents.
- Volumes - General information about Volumes.
- Creating Disk Safes - Instructions on how to create Disk Safes.
- Copying and Moving Disk Safes- Instruction on how to copy and move Disk Safes.
- Storing Disk Safe on a Windows Network Share - Instructions on how to save Disk Safes on a Windows Network Share.
- Creating Policies - Instructions on how to create a new policy.