Follow the instructions below to edit a Control Panel Instance in CDP.
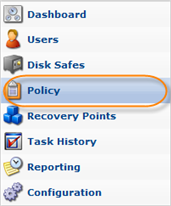
1. Click on "Policy" in the Main Menu to access the "Policies" page.
| Advanced Edition | Enterprise Edition |
|---|---|
 |
 |
2. Find the necessary Policy in the "Policies" list and click on the "Edit" icon in the "Actions" column for this Policy.

| Tip To find a Policy, you can use the Basic and Advanced List Filters. See Customizing the Policies List. |
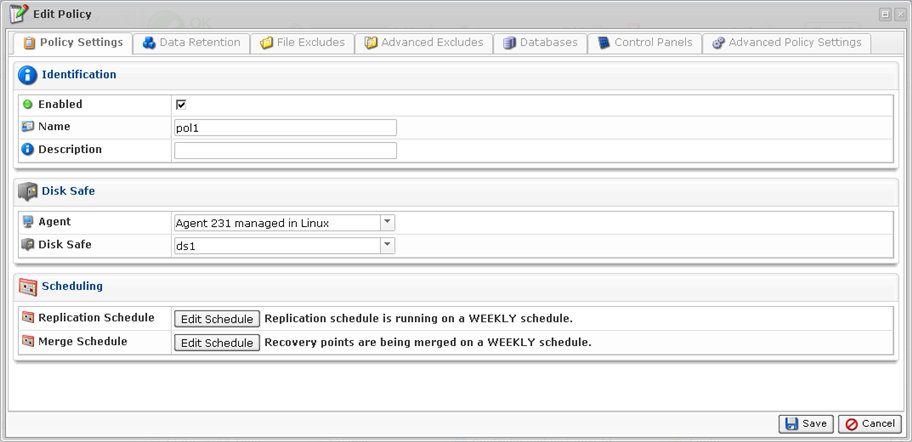
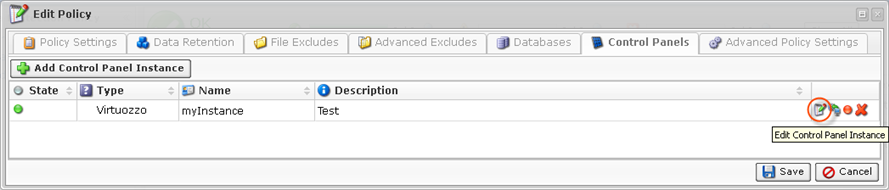
3. The "Edit Policy" window will open.
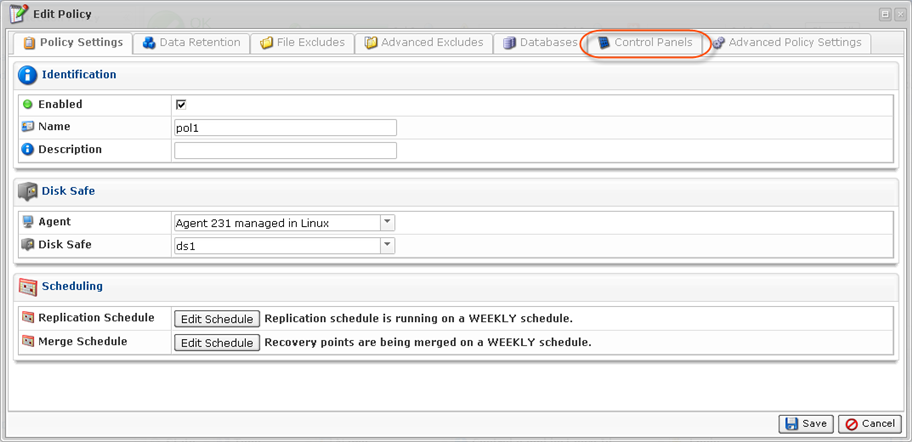
4. Choose the "Control Panels" tab.
5. Then you will access the "Control Panel Instance" list on the "Control Panels" tab.
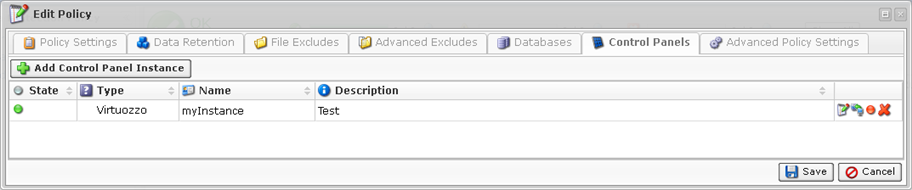
6. Find the necessary Instance in the "Control Panel Instance" list and click on the "Edit" icon in the "Actions" column for this Instance.
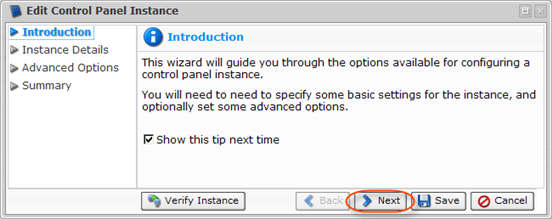
7. The "Edit Control Panel Instance" window will appear. Familiarize yourself with the introductory information and click "Next" to proceed with adding the Instance.
8. On the following "Instance Details" screen you can change options for your Control Panel Instance:
- Enabled - Use this checkbox to enable or disable the Control Panel Instance. If an instance is disabled, it will not be discovered during replication, and control panel users will not be able to access their data from any recovery points created while the instance is disabled.
- Name - Define a new name for the Control Panel Instance to identify it. A control panel instance's name must be unique to its policy, meaning no more than one instance associated with a policy can have a certain name.
- Description - Enter new additional information about the Control Panel Instance. It is optional information, but if specified must also be unique to the policy.
- Type - Change the type of the Control Panel Instance. It specifies what kind of control panel is being configured and can be defined as:
- cPanel
- Plesk
- Virtuozzo
- Parallels Pro
- Interworx
- DirectAdmin
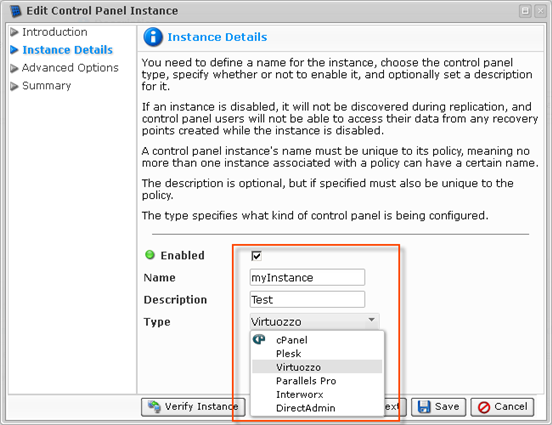
Click "Next."

9. If your Control Panel is installed inside a Virtuozzo container, you need to specify the Virtuozzo Container ID (cPanel, Plesk, Parallels Pro, Interworx, DirectAdmin type). This advanced option is not available for Virtuozzo control panel type.
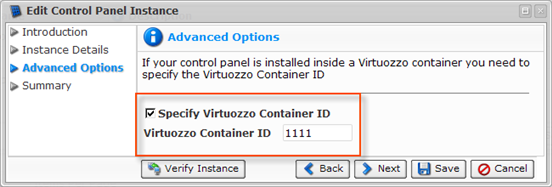
Click "Next."
10. On the last "Summary" screen, the settings you have selected are listed.
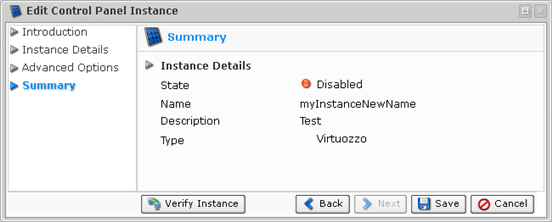
11. You can verify the Instance before saving by clicking the "Verify Instance" button.

If verification is successful, click "OK" in the displayed dialog window.
| Troubleshooting If the verification failed, the "Error Messages" window will appear. It means that CDP cannot find the control panel type specified. Make sure you have selected the correct control panel type. 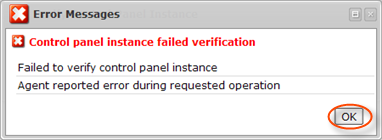 Click "OK" and try to eliminate the error. Then verify the Instance again. |
12. Once you have verified that the specified settings are correct, click "Save."

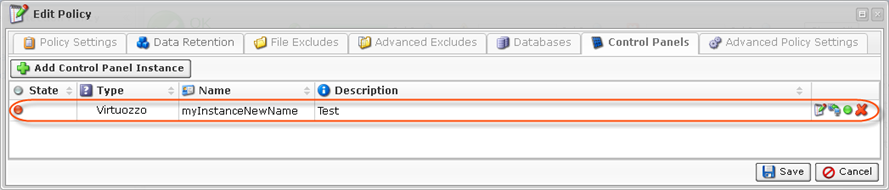
13. Once you the wizard screen has closed, the updated Control Panel Instance appears on the "Control Panels" tab of the Policy window. New Instance options are displayed in the appropriate columns.
14. Click on the "Save" button in the Policy window to save the changes.
