After you have all prerequisites (Prerequisites for Using PXE Network Boot) in order, follow the instructions below to install PXE Network Boot.
| Note If you do not have administrative access to the DHCP, TFTP, and NFS servers, ask the server administrator to install PXE Network Boot on the TFTP and NFS Server and configure the DHCP Server to enable it. |
| New in Version 3 The Disaster Recovery Boot Media 3x CD is based on the Debian Live Linux distribution. Several modifications have been made to Debian Live including removing unnecessary packages to make the ISO size smaller, configuring the CDP Agent to start automatically at boot, and adding the option to start SSH after configuring network settings. |
| Note The instructions below apply both to PXE server and PXE agent. The only difference is that any reference to server should be changed to agent (for example, archive directory is called pxe-agent instead of pxe-server). |
1. Extract the archive. If you have saved the PXE server archive to the /root directory, and the filename of the archive is r1soft-cdp-pxe-server.tar.gz, execute the following commands (as root):
The archive contains only one directory pxe-server. Inside this directory there are two directories: debian-live and tftpboot. The first directory should be placed inside NFS share. The second directory should itself be shared via TFTP. If your NFS share is /nfsroot and TFTP service is configured to serve files from /tftpboot directory, execute the following commands:
| Note PXE boot environment comes preconfigured for NFS server with IP Address 192.168.1.1. If your NFS server has a different IP Address, please open the file /tftpboot/debian-live/i386/boot-screens/live.cfg in your favorite text editor and change all occurrences of 192.168.1.1 to the IP address of your NFS server. Otherwise, booting from the network will not work. |
2. The life.cfg file contains the following information:
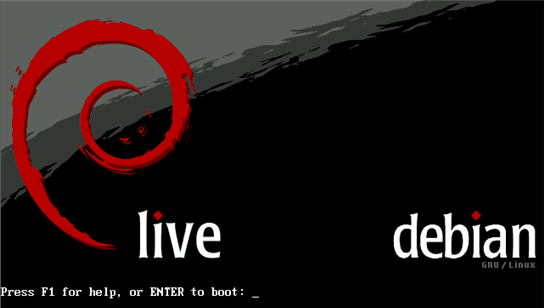
3. Boot the server from the network. If the DHCP server, TFTP server, and network itself are set up and working correctly, the first screen that you will see after booting from network is the Debian Live welcome screen. Press Enter to continue boot process.
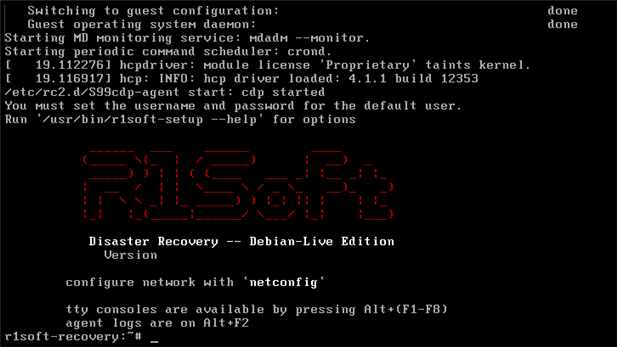
4. You will see a lot of debugging messages from booting Linux kernel. In a couple of minutes, you should see the "R1Soft Disaster Recovery" welcome screen. Even if you are booting PXE server environment, CDP Agent will be started automatically.
5. You do not need to run the netconfig command because the network should already be configured. Read more on this topic in Configuring Network for Bare-Metal Restore.
6. You are ready to perform a Bare-Metal Restore. Proceed to the next step: Launching Bare-Metal Restore.