In Server Backup, you can download the files from a Recovery Point as a tar or a zip archive. Follow the instructions below.
1. Click "Recovery Points" in the Main Menu to open the "Recovery Points" window.
2. In the "Recovery Points" list, select a Server from the drop-down menu located on the "Recovery Points" list toolbar.
3. Select a Disk Safe from the drop-down menu located on the "Recovery Points" list toolbar.
4. Find a Recovery Point and click on the "Browse" icon in the "Actions" column for this Recovery Point.
| Tip To find a Recovery Point, you can use the Basic and Advanced List Filters. See Customize the Recovery Points list. |
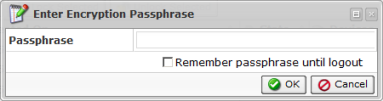
| Note Note that if you configured the encryption during Disk Safe creation, you will be asked to enter the encryption passphrase when you click on the "Browse," "Bare Metal Restore," "Browse Databases," or "Exchange" icon.
So that you don't have to enter the passphrase every time you click on one of the above-mentioned icons, check the "Remember passphrase until logout" check-box. Then click the "OK" button.
|

5. The "Browse Recovery Point" window opens.
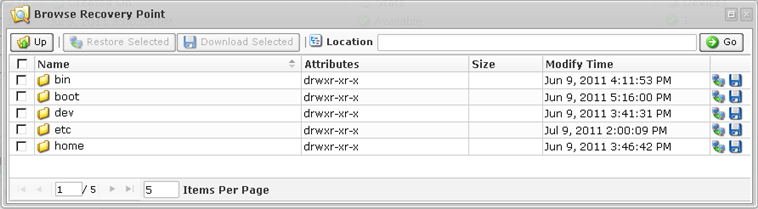
See also: Browse recovery points.
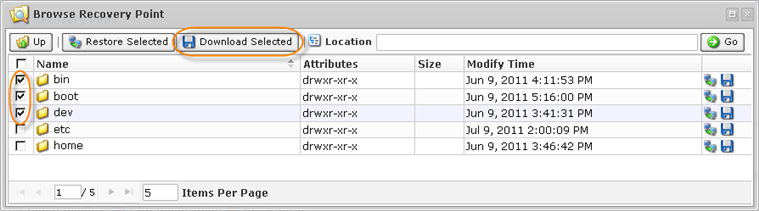
6. Check the boxes next to the files or folders you want to download and click "Download Selected."
7. The "Download Stored Files" wizard will appear. Familiarize yourself with the introductory information and click "Next" to proceed with generating the archive for downloading.

8. On the "Archive Type" screen, select the type of the archive file. The following options are available:
- Download files as a tar archive - Allows you to download data as a tar file. This would be more preferable for Linux users.
- Compress tar archive with gzip - Check this box to compress the tar archive with gzip compression.
- Download files as a zip archive - Allows you to download data as a zip file. This would be more preferable for Windows users.
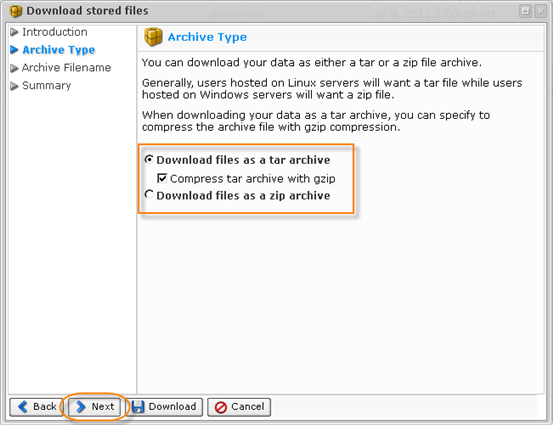
Click "Next."
9. On the next "Archive Filename" screen, define the name of the archive. The following options are available:
- Use Generated Filename - Select this option to generate the file name automatically. The name will be in the following format:
cdp-data-[date of Recovery Point creation]-[time of Recovery Point creation]
Example: cdp-data-2012-07-09-03-00-06.tar.gz
- Specify Filename - Select this option to input custom file name.

Note
You do not need to specify the extension of the file. It will be appended automatically.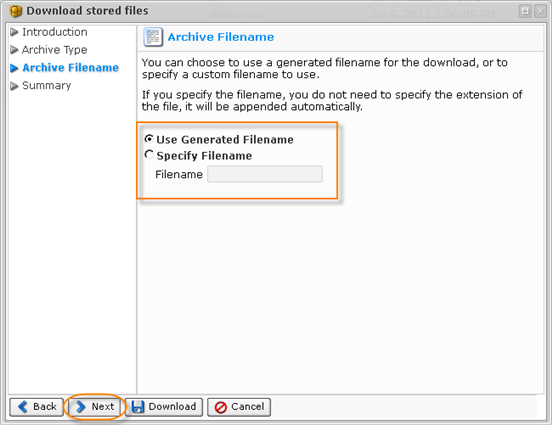
Click "Next."
10. On the last "Summary" screen, the settings you have selected are listed.
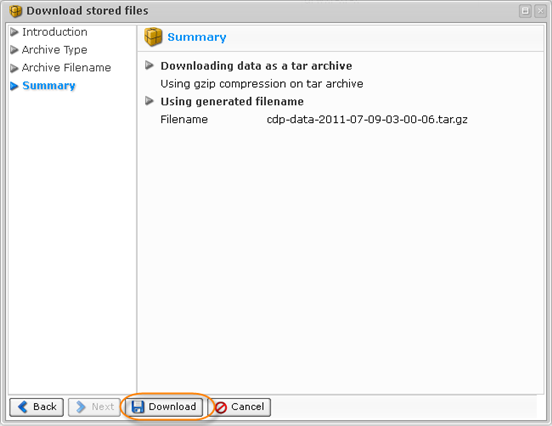
Click "Download" to obtain the archive.