The Backup Manager users can restore entire Device(s) or selected files and folders from any Recovery Point. You can also extract files from a Recovery Point to an off-site server or a local hard disk.
To restore data in the Backup Manager, follow the instructions below.
1. Click "Recovery Points" in the Main Menu to open the "Recovery Points" window.
2. In the "Recovery Points" list, select a Server from the drop-down menu located on the "Recovery Points" list toolbar.
3. Select a Disk Safe from the drop-down menu located on the "Recovery Points" list toolbar.
4. In the "Recovery Points" list, find a Recovery Point and click on the "Browse" icon in the "Actions" column for this Recovery Point.
| Tip To find a Recovery Point, you can use the Basic and Advanced List Filters. See Customize the Recovery Points list. |
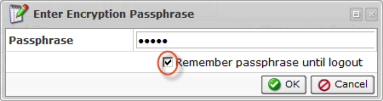
| Note Note that if you configured the encryption during Disk Safe creation, you will be asked to enter the encryption passphrase when you click on the "Browse," "Bare Metal Restore," "Browse Databases," or "Exchange" icon.
So that you don't have to enter the passphrase every time you click on one of the above-mentioned icons, check the "Remember passphrase until logout" check-box. Then click the "OK" button.
|

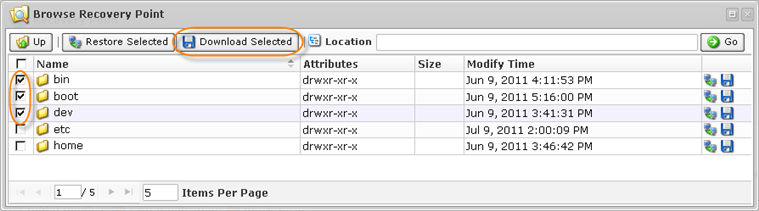
5. The "Browse Recovery Point" window opens.
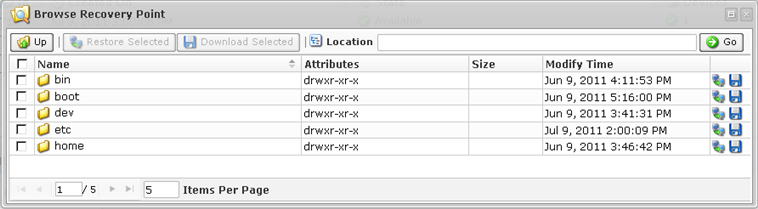
See also: Browse recovery points.
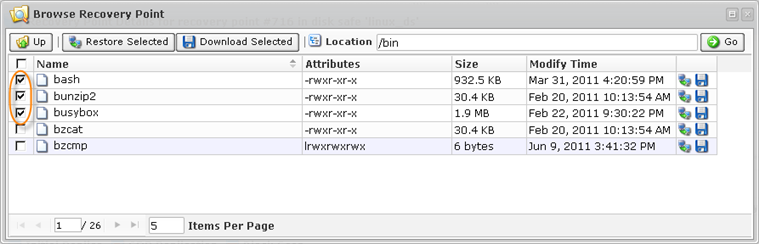
6. Select the check-boxes next to the files and folders you want to restore.
7. Once the files and folders are selected, click on "Restore Selected."
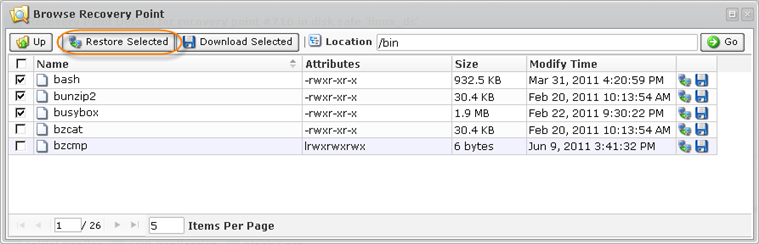
8. The "Restore Files" window will open.
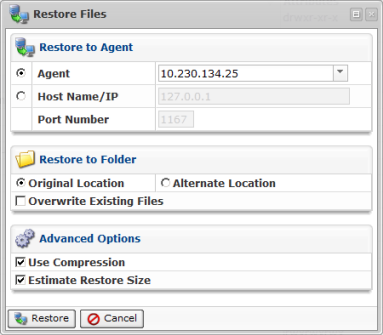
9. Specify the following options:
Restore to the Server (Enterprise Edition)
- Server - Select this option to restore to a Server that is already in the system. Connects to the Server named and uses the port configured.
- Host Name/IP - Connects to the specified host name and port. This option allows you to Restore to a Host with a Host Name/IP address that is different than the original Host's.
- Port Number - Used together with the Host Name/IP.
Restore to Folder
- Original Location - Restores to the same directories as when the Recovery Point was created.
- Alternate Location - Specify a path on the Host to Restore the files to. The complete path and directory structure of all selected files will be created under the path specified here. If the specified path does not exist, it will be created.
- Overwrite Existing Files - When enabled, any existing files or directories with the same name will be overwritten, even if they are newer.
Advanced Options
| Note All Advanced Options described below are enabled by default. |
- Use Compression - Compression works under the hood using QuickLZ. If the compressed size is larger than the uncompressed size, the files are sent uncompressed.
- Estimate Restore Size - When enabled, you can see the additional "Estimated Restore Size" and "Estimated Object Count" values in the "Reporting" page - "Summary" tab - "Restore Status" area.
- Restore Discretionary ACLs (File Permissions) - When enabled, all permissions of the file being restored are saved during restore.
- Restore System ACLs (Audit Rules) - When enabled, all audit rules of the file being restored are saved during restore.
10. Click on the "Restore" button.

11. The "Details for Restore Files" screen displays the progress of the task.
| Note The "Details for Restore Files" screen can be closed and reopened from the Dashboard. |
| Tip The task results can be sent via email as a Report. See Reporting. |
12. Once the file restore is complete, you'll see the "Details for Restore Files" screen with the following information:
- File Restore Summary - Shows if the restore was successful.
- File Restore Statistics - Shows time of restore, average network ratio, number of restored bytes, and compression ratio.
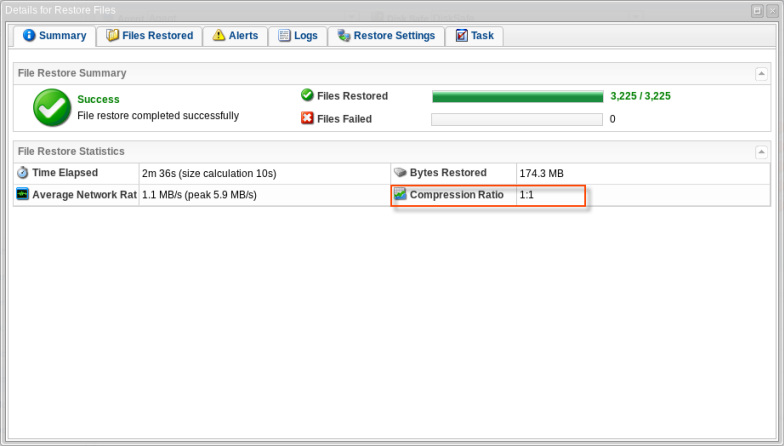
| Tip If the compressed size is larger than the uncompressed size, the files are sent uncompressed. 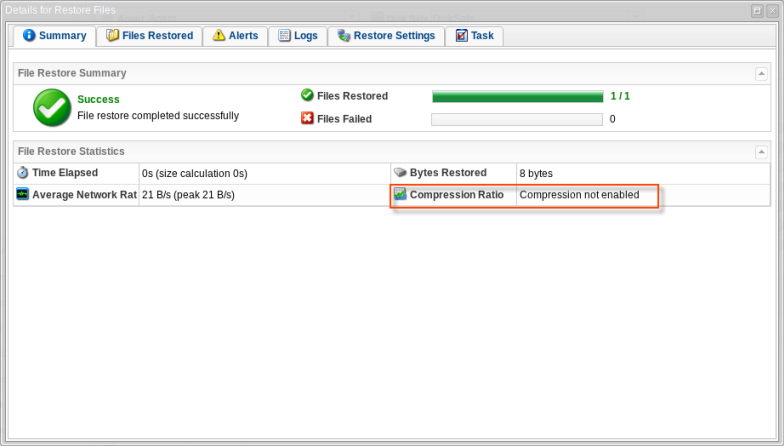 |
13. To view the Restore Task details, access the "Task History" menu and click on your last task. See Access task history.

Downloading Files as an Archive
In the Backup Manager, you can download the files stored in Recovery Points as a .tar or a .zip archive. Follow the instructions below.
1. Select the Recovery Point you want to save files from, and click "Browse." See the instructions above.
2. Check the boxes next to the files or folders you want to download, and click "Download Selected."
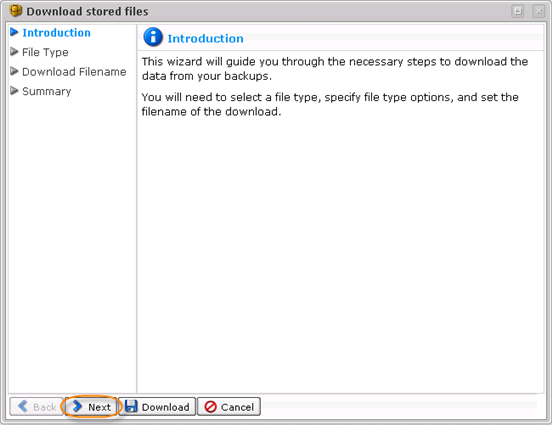
3. The "Download Stored Files" wizard will appear. Familiarize yourself with the introductory information, and click "Next" to proceed with generating the archive for downloading.
4. On the "File Type" screen, select the type of the archive file. The following options are available:
- Download files as a tar - Allows you to download data as a .tar file. This option is preferable for Linux users.
- Compress tar file with gzip - Check this box to compress a .tar file with gzip compression.
- Download files as a zip - Allows you to download data as a .zip file. This option is preferable for Windows users.
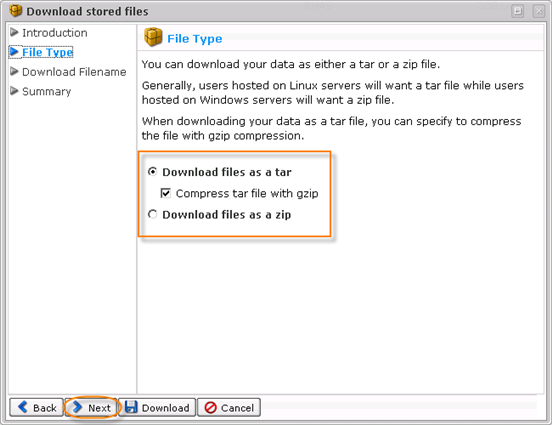
Click "Next."
5. On the next "Download Filename" screen, define the name of the archive. The following options are available:
- Use Generated Filename - Select this option to generate the file name automatically. The name will be in the following format:
cdp-data-[date of Recovery Point creation]-[time of Recovery Point creation]
Example: cdp-data-2011-07-09-03-00-06.tar.gz
- Specify Filename - Select this option to input a custom file name.

Note
You do not need to specify the extension of the file. It will be appended automatically.
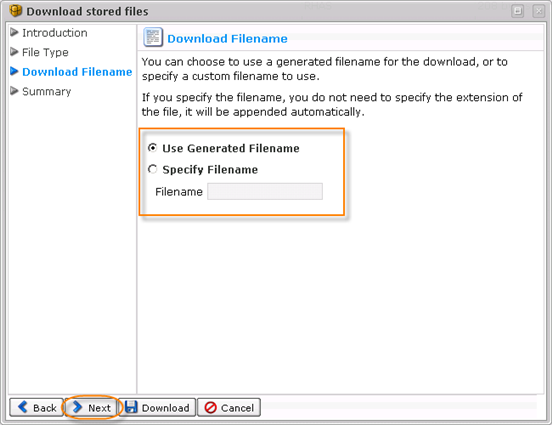
Click "Next."
6. On the last "Summary" screen, the settings you have selected are listed.
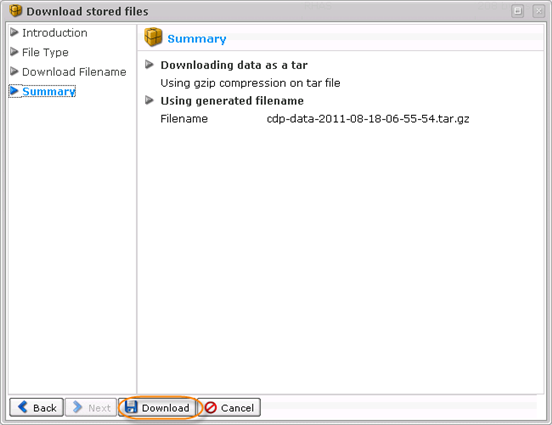
Click "Download" to obtain the archive.