After you boot your server from the Bare Metal Live CD or PXE boot, and you configured the network, start the Backup Manager and make sure that the Manager has access to the backup data on the disk safe. User the following steps.
Starting the Backup Manager
1. Before starting the Manager, set up the username and password for the Web Interface. Execute the following command:

2. Now you can start the Manager by executing the following command:

Wait 1-2 minutes for the manager to initialize. Then you can access it in the browser from some other computer in the same LAN. You can safely ignore debug messages from Linux kernel shown on the console at manager startup.
Getting Access to the Disk Safe
When you are creating a Disk Safe in Server Backup Advanced, the Web Interface recommends you to save the Disk Safe on a reliable network share, or, if it is not possible, on a secondary hard drive.
| Tip The second option looks more attractive from the Bare-Metal Restore point of view because in Linux booted from Live CD or via PXE it is much easier to get access to the local hard disk than to the network share. |
The following three (3) options are described below:
- Disk Safe is on the local hard drive.
- Disk Safe is on NFS share.
- Disk Safe is on Samba share.
Disk Safe Is on the Local Hard Drive
Let's assume that the new hard disk which you will restore your Server to, is visible as /dev/hda and the disk with backup data (Disk Safe) is attached as /dev/hdb. Let's assume that the first disk is empty and does not contain a partition table, and the second disk contains one partition the size of the entire disk (/dev/hdb1).
To get access to the Disk Safe, mount the /dev/hdb1 partition to /mnt using the following command:
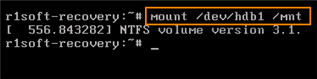
The command runs successfully, because the kernel on Live CD supports a lot of different file systems, including Linux EXT3, EXT4, ReiserFS and Windows NTFS.
Now you can proceed to attaching the Disk Safe in the manager web interface (see further).
| Tip If you are not sure which disk is which, you can always display information about disk sizes and partition tables by running the following command:
fdisk -l
|
Disk Safe is on NFS Share
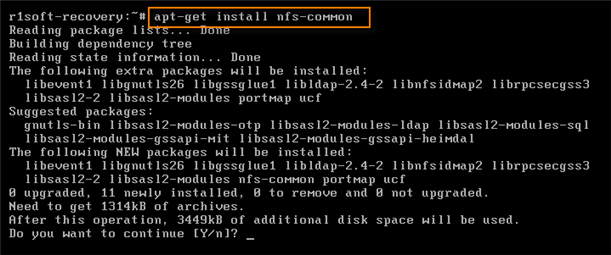
Accessing Disk Safe on NFS share will not be easy, because while Live CD kernel contains drivers for NFS, the collection of programs available on CD lacks the set of tools for accessing NFS. Fortunately, it is not a problem - missing tools can be installed.
1. Execute the following command:
2. When prompted, press on the <Y> on the keyboard and then <Enter> to start installation. When the installation is complete, your screen appears similar to the following image:
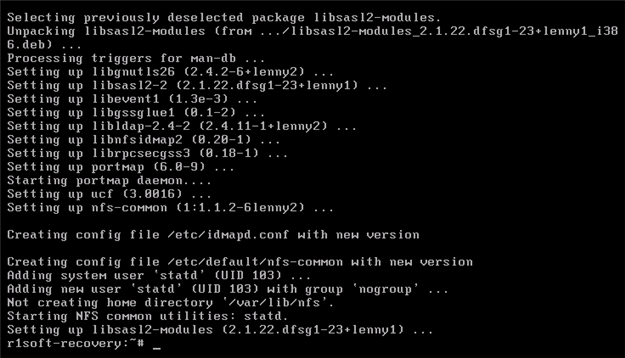
3. Let's assume that your NFS server is called nfsserver and the directory with Disk Safe is called /Share. Execute the following command:

Now you can proceed to attaching the Disk Safe in the manager web interface (see further).
Disk Safe is on Samba Share
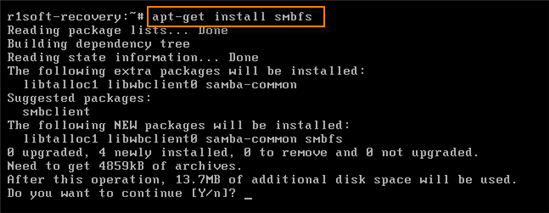
Accessing Disk Safe on Samba share will also not be easy because while Live CD kernel contains drivers for CIFS filesystem, the collection of programs available on CD lacks the utility for mounting Samba shares - mount.cifs. Fortunately, it is not a problem - mount.cifs can be installed.
1. Execute the following command:
2. When prompted, press on the <Y> on the keyboard and then <Enter> to start installation.
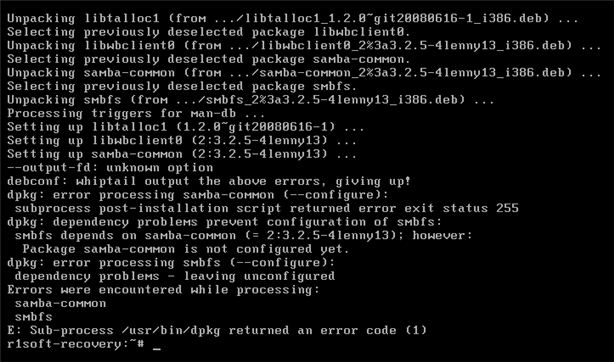
3. Error messages are safe to ignore.
4. When the installation is completed, your screen appears similar to the following image:
5. Let's assume that your Samba server is called filedump and the share with Disk Safe is called Share.
Execute the following command:
6. Enter the password for accessing the Samba share when prompted.
Now you can proceed to attaching the Disk Safe in the manager web interface (see further).
Attaching the Disk Safe in Backup Manager Web Interface
1. Launch the web browser on a computer that can access the Server you are restoring via the network. Then open the Backup Manager web interface, enter the Username and Password you configured, and click on the "Login" button.
2. In the Main Menu, click Settings and then select Disk Safes.
3. On the Disk Safes screen, click the Attach Existing Disk Safe button.
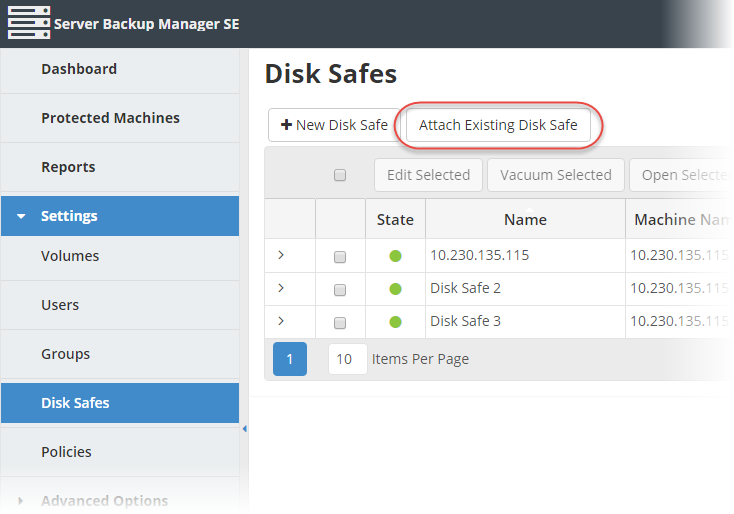
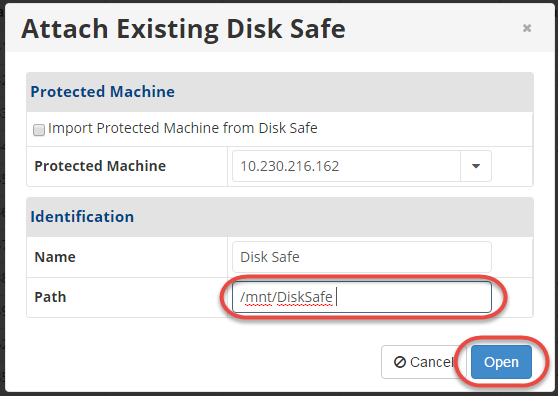
The Attach Existing Disk Safe window displays.
4. Assuming that the Disk Safe was in Safe directory on the mounted local disk or network share, enter /mnt/DiskSafe as a path to the safe and click the Open button.
5. In a few seconds, the system displays the message, "Successfully opened disk safe." Click OK.
You can proceed to restore the protected machine from the data contained in the Disk Safe. See Launch a bare-metal restore.