Follow the instructions below to add a data protection policy in Data Center Console.
1. In the Main menu, click Policy.
2. In the Policy menu, click Create New Policy. DCC displays the Create New Policy window. This window contains the following tabs:
- Policy Settings
- Data Retention
- File Excludes
- Advanced Excludes
- SQL Server
- Exchange
- MySQL
- Control Panels
- Advanced Policy Settings
| Note Depending on the limits, defined for the Disk Safe to which the current Policy is assigned, some of the tabs might be disabled. See Create Disk Safes in DCC  |
4. Define the following settings specific to the new Policy:
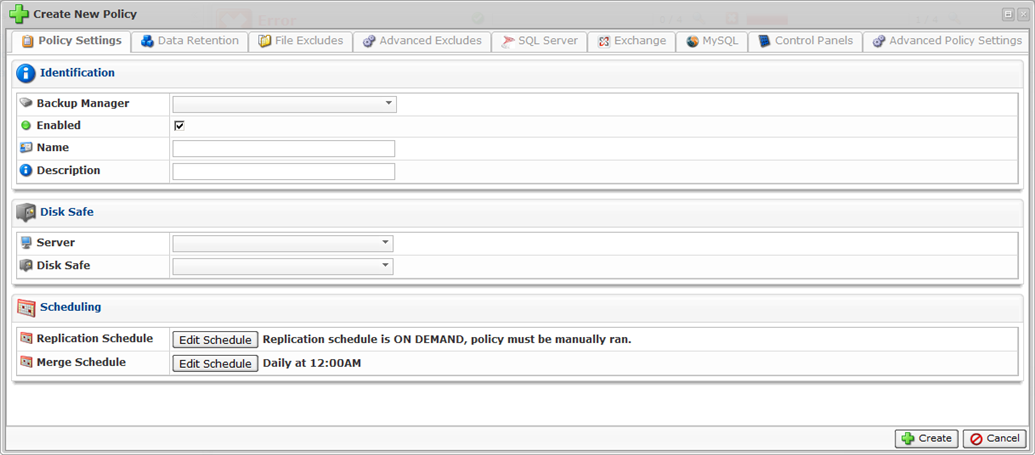
Policy Settings Tab
This is the main tab for creating a Policy. The following options are available:
Identification
- Enabled - Select this checkbox to enable the Policy. The Enabled Policy will run according to the schedule.
- Name - Enter a name you can use to identify this Policy among others in the Policies list.
- Description - Describe your Policy in details. The description can be shown in the Policies list in the corresponding column.
Disk Safe
- Server - From the drop-down menu, select a Server for which data you are going to replicate. Then you will be able to select a Disk Safe assigned to the Server.
- Disk Safe - From the drop-down menu, select a Disk Safe in which to save the replicated data.

Note
The Policy will replicate data from the Devices assigned to the selected Disk Safe.
Scheduling
- Replication Schedule - Define the schedule and recurrence for the new Policy (On Demand, Minutely, Hourly, Daily, Weekly, Monthly, or Yearly).
| Note The lowest possible replication frequency for all the Disk Safes assigned to Volume is defined in Volume properties (Volume properties window |
- Merge Schedule - Define the schedule and recurrence for the Recovery Points merge (After Replication, Hourly, Daily, Weekly).
Data Retention Tab
On this tab, you can set the Recovery Points to Retain and create an Archiving Schedule.
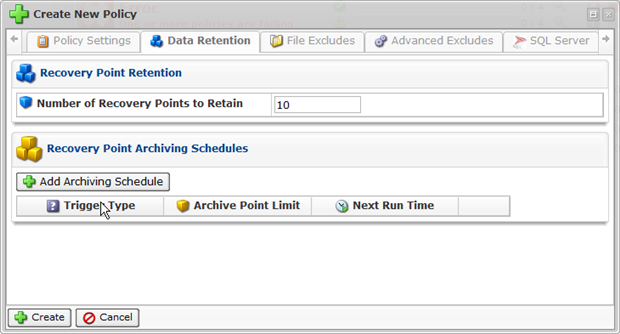
| Note The Recovery Point limit you set on this tab cannot be greater than the limit defined for the current Disk Safe. See Create Disk Safes in DCC. |
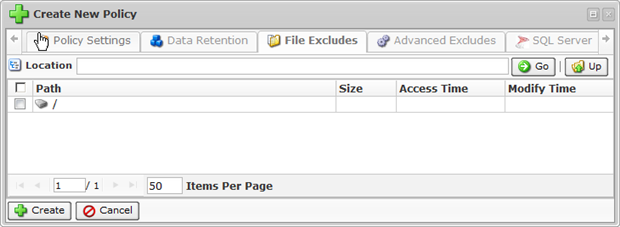
File Excludes Tab
This tab allows you to manually exclude files and folders from the replication.
See Exclude files and folders in DCC.
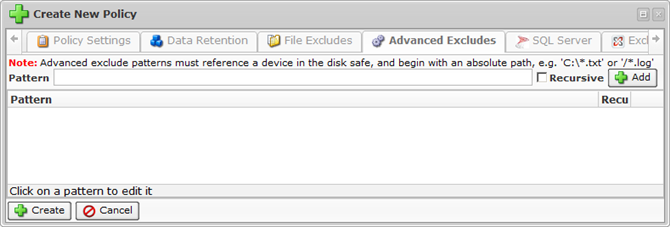
Advanced Excludes Tab
This tab allows you to define a pattern (mask) to exclude files from the replication.
See Exclude files and folders in DCC.
"SQL Server" Tab
This tab allows you to add Database Instances to the Policy.
See Add a MySQL instance to a policy.

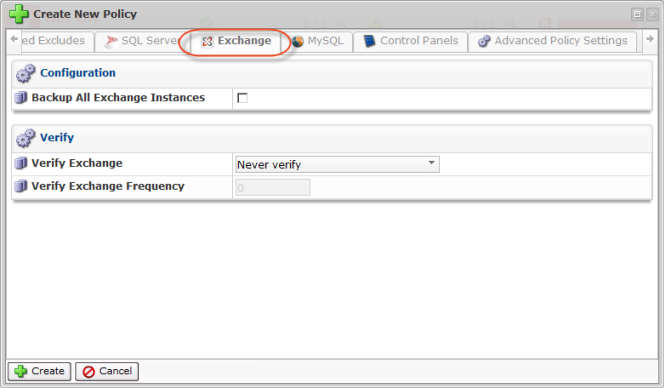
"Exchange" Tab
This tab allows you to configure an Exchange Instance for the Policy.
See Configure an Exchange instance.
"MySQL" Tab
This tab allows you to add MySQL Instances to the Policy.
See Add a MySQL instance to a policy.

Control Panels Tab
This tab allows you to add a Control Panel Instance to the Policy.
See Add a control panel instance in DCC.

Advanced Policy Settings Tab
- Force Full Block Scan - Optionally check this option to mandate the start of a full block scan each time the replication is performed. If the option is not selected, then an automatic full block scan happens only under certain conditions. A full block scan compares the MD5 sum of all allocated blocks to perform the backup and get Backup Manager back in synchronization.
- Verify Checksums Server Side - Optionally enable this option to ensure that no data is lost during transporting. If this option is activated, then the Server side uncompresses, unencrypts if necessary and compares block packet MD5 with data sent from Agent. Verifying encrypted or unencrypted block checksums on the Backup Manager allows you to triple check the integrity of a backup.
- Exclude Known Disk Safes - Optionally check this option to exclude the known Disk Safes from the replication to avoid backing up the same data twice.
- Specify Backing File Location (Linux only) - Optionally define a path which the mount point of a device should use to store changed blocks. This option is useful to support backups of devices with low free space. By default, the Linux snapshot driver stores changed blocks (needed to maintain snapshots) in the the free space of the file system on which it is performing a snapshot. When using a server with multiple disks, storing snapshots on a separate dedicated disk can help reduce the load during backup. The disk must have a file system and must be mounted.
Example
Linux system:Mount Point Disk /dev/sda1 /boot /dev/sda3 / /dev/sda4 /var When /boot or /var is 99.99% full, the backups fail because there is no free space to maintain the snapshot.
Once the user inputs "/" into the "Backing File Location" field, the /dev/sda3 path will be used as the changed block storage location for all file systems.

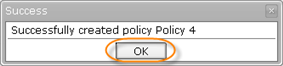
5. Click on "Create" in the bottom of the window to add the Policy to the "Policies" list.

6. You will receive a notification that the creation of the Policy was successful. Click "OK."
7. The new Policy item appears in the "Policies" list. The properties are shown in the grid.
| Tip Click on an item in the "Policies" list to see the Policy details in the bottom pane. |
You can also create Policies using the "Policies" tab of the Agent "Details" Pane. This screen provides the same functionality as the main "Policies" screen.