Server Backup Manager provides the ability to take a snapshot of a Microsoft SQL Server database. Since Server Backup uses the VSS SQL writer, data integrity and consistency during the backup operation are ensured.
Follow the instructions below to restore an MS SQL database that was previously backed up by Server Backup.
Step 1: Restoring Database Data and Log Files
To restore a database, follow the instructions below in your Backup Manager.
1. In the Main Menu, click Protected Machines. On the Protected Machines screen, click the Actions icon for a corresponding protected machine and select Open Recovery Points.
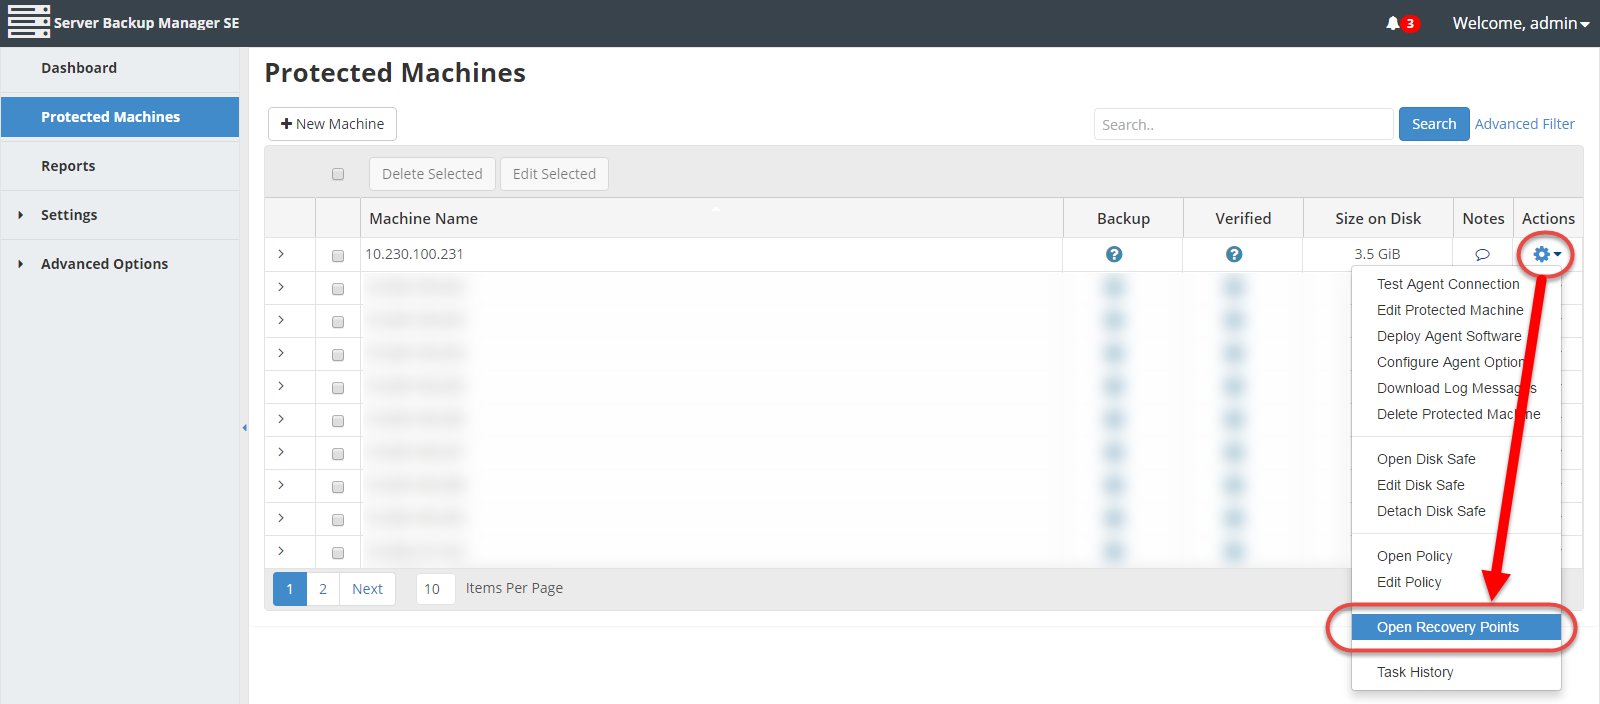
The Recovery Points window displays.
2. In the Recovery Points window, select the recovery point from which you want to restore. You can restore the files from any available recovery point. Click the corresponding Actions icon and select Browse. 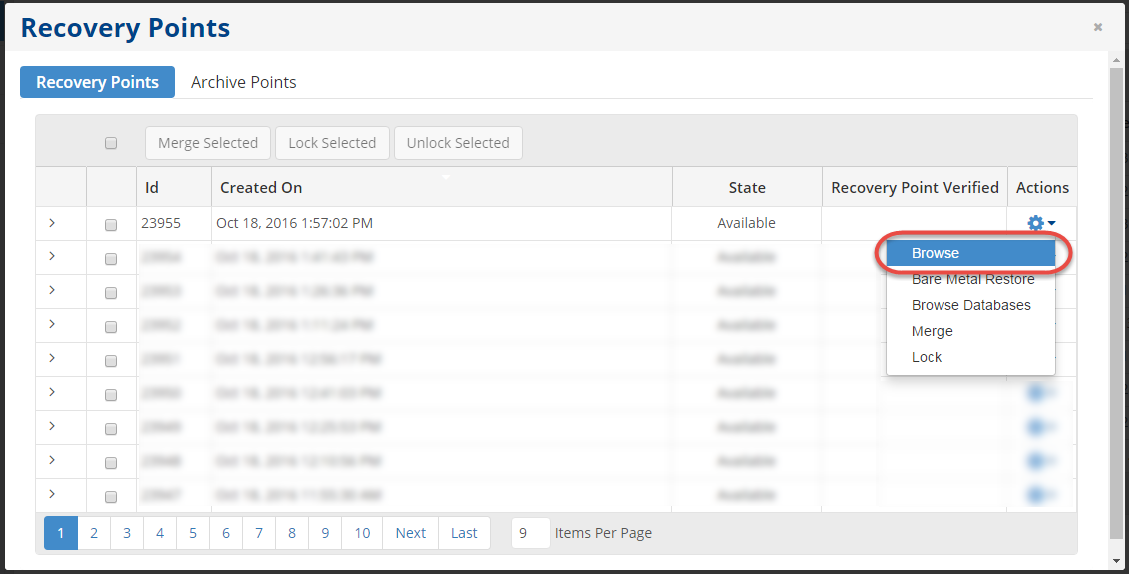
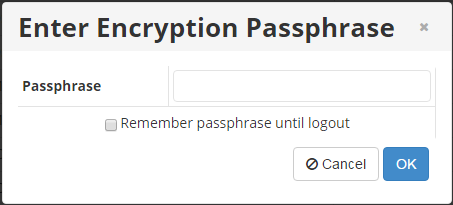
| Note Note that if you configured the encryption during Disk Safe creation, you will be asked to enter the encryption passphrase when you select Browse, Bare Metal Restore, Browse Databases, or Exchange in the Actions menu.
Select the Remember passphrase until logout check box to remember your passphrase when you select one of the options in the Actions menu listed above. |
3. The "Browse Recovery Point" window opens. Browse to locate the location of the SQL data and log files (.mdf and .ldf). See also: Browse recovery points.
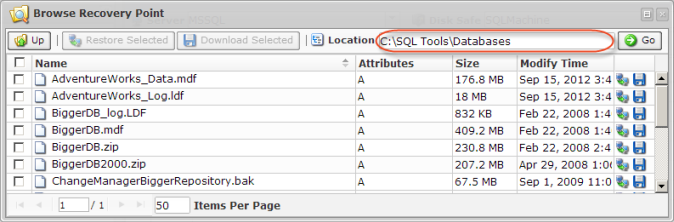
4. Check the database .mdf data files and .ldf log files you want to restore.
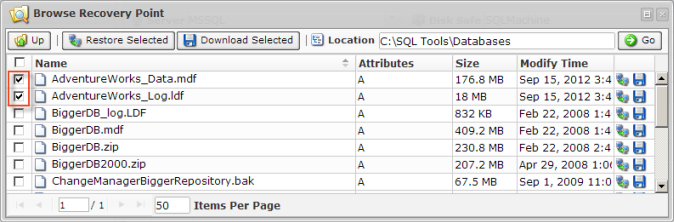
5. When you are finished selecting the files and directories, click the "Restore Selected" button.

6. In the "Restore Files" window, define the restore options.
First, select an existing Server to restore to or define a new Server name/IP and its port number.

Second, if the database already exists and you want to restore the .mdf and .ldf files to an alternate location, check the option for this and specify the path where the files will be restored. Optionally, check the "Overwrite Existing Files" option.

Third, define the Advanced options (if needed):
- Use Compression
- Estimate Restore Size
- Restore Discretionary ACLs (File Permissions)
- Restore System ACLs (Audit Rules)

7. Click on "Restore".

8. The task will start immediately. The "Details for Restore Files" screen displays the progress of the task.

Step 2: Attaching the Database Data and Log Files
Follow the instructions below to attach the database data and log file.
1. From the SQL Server Management Studio, right-click the "Databases" item and select the "Attach..." command in the menu.

2. Browse to the restore location.
| Note If you restore to an alternate location, the path will include the new location, in addition to the old hierarchy of the file location. |

3. In the "Attach As" column, change the database name if the original database is still online.

4. Click "OK." The database is now attached.
