You can assign a disk safe to a volume. In this case, the volume must exist before the disk safe.
Use the following steps to add a volume to Server Backup Manager.
- In the Main Menu, click Settings and then select Volumes. When the Volumes page displays, click the + New Volume button. The Create New Volume window displays as shown in the following image.
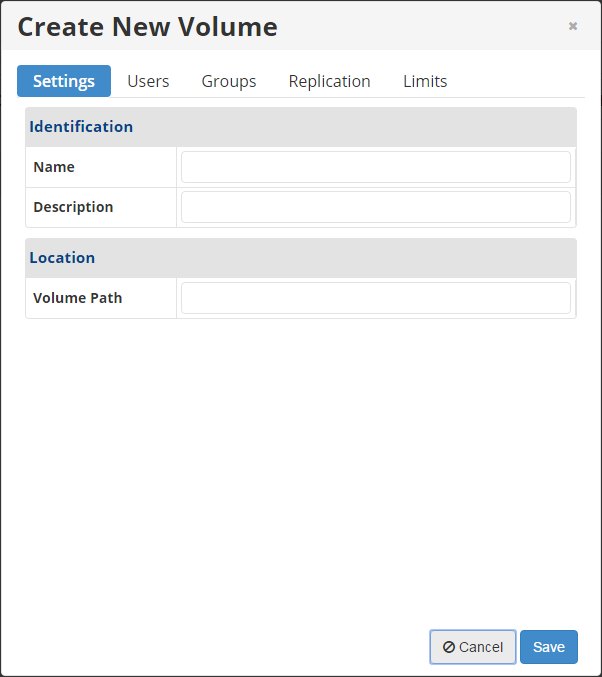
- In the Settings tab, identify the volume and volume location.
- Name. Volume name used to identify the volume within the system.
- Description. Additional information used to describe the volume. This description displays in the Volumes list.
- Volume Path. The path for a new or existing folder. Any assigned disk safes are placed in this folder.
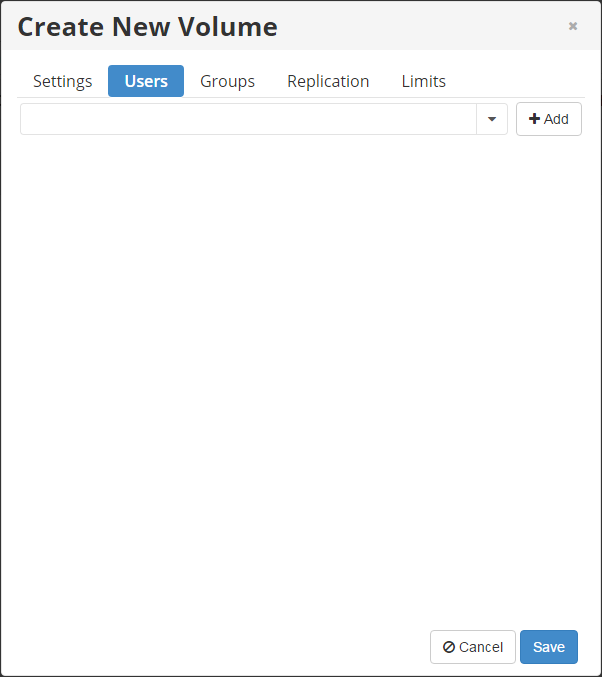
- In the Users tab, you can assign users to the volume. To add a user to the volume, select the appropriate user name from the list and click the + Add button. Click the X icon to delete a user account from the volume.

Note
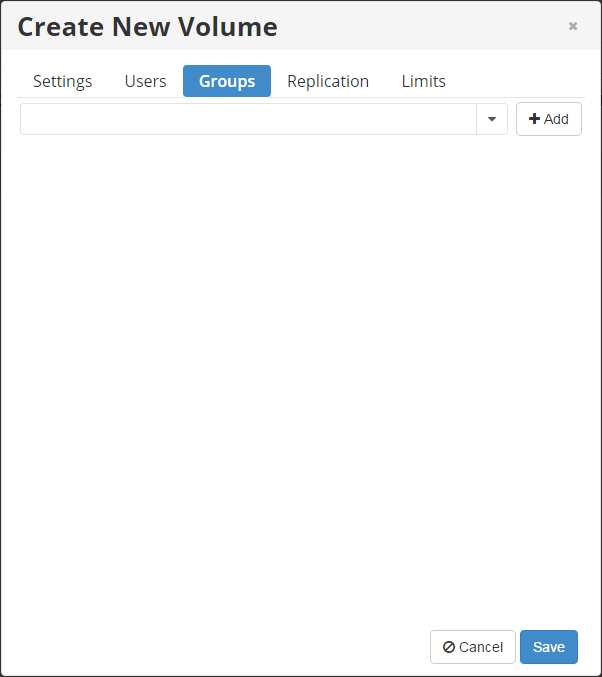
After upgrading, existing Sub-User assignments will not be removed. - In the Groups tab, you can assign groups to the volume. To add a group to the volume, select the appropriate group name from the list and click the + Add button. Click the X icon to delete a group from the volume.
- In the Replication tab, you can define replication options for the volume. The Replication Type field is used to specify the type of replication to allow for Disk Safes on this volume. If None is selected in this field, recovery points will not be replicated after they are archived. You can also select Local Replication or Remote Replication in the Replication Type field.
- Local Replication. Replicate the recovery points to a Disk Safe on the local system after they are archived.
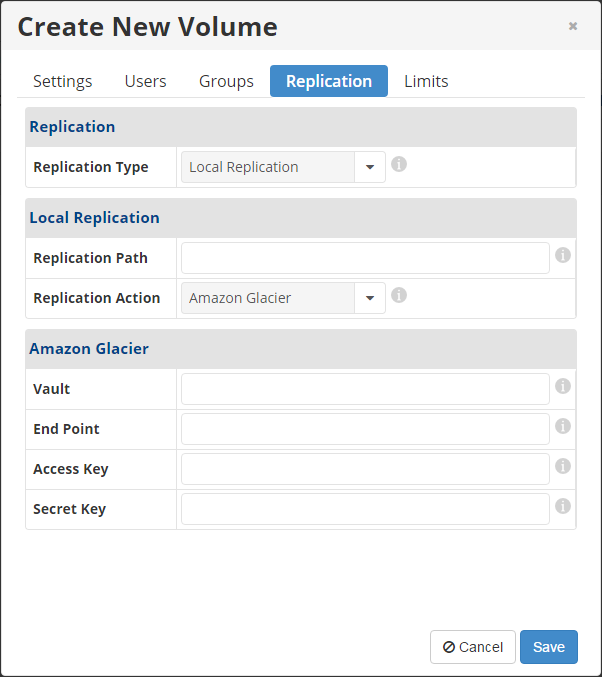
The following additional fields display:- Replication Path. Specify the path on the local filesystem to which the Disk Safe will be replicated. The path for disk safe replication in this volume. For example, the Volume Path is /mnt/sdb1/ext4 and the Replication Path is /mnt/sdb1/ext4-R.
- Replication Action. Specify an action to perform after the replication is completed. If you select None, no action will be performed after recovery points are replicated. If you select Execute Script, a selected script will run after each successful replication. If you select Amazon Glacier, the replicated Disk Safe will be copied to an Amazon Glacier Vault after each successful replication.
Note
For more information about the additional Amazon Glacier fields that display, see the Info icons in the UI.
- Remote Replication. Replicate the recovery points to a specified target SBM server.
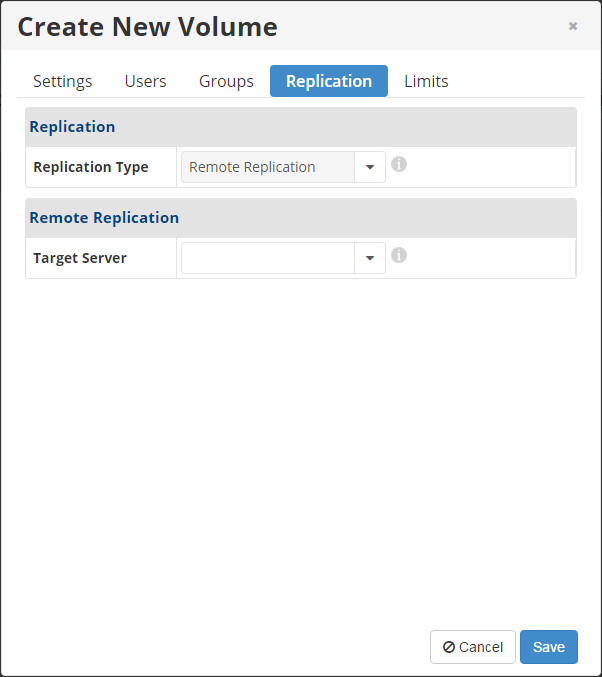 #* *Target Server. Enter the target SBM server to which recovery points will be replicated after they are archived. Target servers must be configured in the Remote Replication Options section in Advanced Options before they can be selected for replication.
- Local Replication. Replicate the recovery points to a Disk Safe on the local system after they are archived.
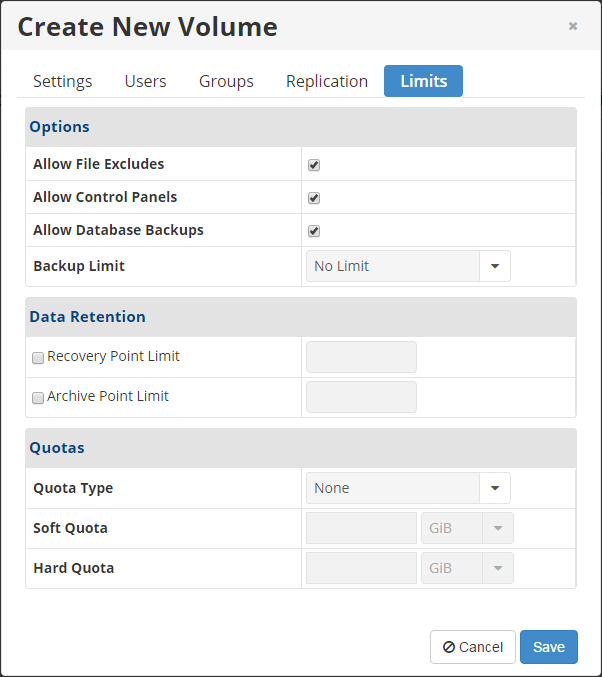
- In the Limits tab, you can set the options regarding file excludes, recovery point archiving, and control panels. You can define limits replication, recovery points, and archive points.
Note
When you set a limit for a volume, it is enforced to all disk safes and policies assigned to that volume. For example, if a volume limits replication frequency to daily, you cannot have hourly disk safe replication. The same rule applies to retention policy, quotas, allowing file excludes, etc.The following fields display in the Limits tab:
- Allow File Excludes. Select this check box to activate the File Excludes feature for all the disk safes assigned to that volume. If you select this option, then the system allows you to specify any files and folders that you do not want backed up during the replication policy. By default, all file and folders from the selected devices are replicated. Read more in About exclusions and Exclude files and folders.
- Allow Control Panels. Select this check box to activate the Control Panels feature for that volume. If you select this option, the system allows you to back up and restore hosting control panel user accounts. Read more in Hosting control panels.
Tip
There is a system-wide option to enable the Hosting Control Panels feature. Read more in Enable the Hosting Control Panels feature. - Allow Database Backups. Select this check box to activate the Database feature for that volume. If this option is selected, the system allows you to back up and restore such databases as SQL, Exchange, and MySQL. Read more in Protect SQL Server, Protect Exchange, and Protect MySQL.
Note
Note that all three of these check boxes are selected by default. - Backup Limit. This option defines the lowest backup frequency for all the Disk Safes assigned to that volume. For example, if you set the backup limit to Weekly, then the minimal replication frequency for the disk safes in that volume are weekly. You can also select No Limit, Hourly, Daily, or Monthly.
- Recovery Point Limit. Specify the maximum number of Recovery Points that can be stored in the Disk Safes assigned to the Volume.
- Archive Point Limit. Specify the maximum number of Archive Points that can be stored in the Disk Safes assigned to the Volume.
- Quotas. Quotas are set to limit the disk usage of the Volume. The limit is set for all Disk Safes in the Volume on the basis of space occupied by Disk Safes, size of deltas, or number of deltas. Disk quotas can also be defined in the Manager Options section. The following fields display in the Quotas section:
- Quota Type. If you select On Disk Size in this field, the quota is based on the raw Disk file size of all the Disk Safes and their files in the Volume's folder. If you select Deltas in Disk Safe in this field, the quotas will calculate the sum of the sizes (after compression) of the actual block level deltas in the Disk Safe file. Disk Safe's overhead and unused space in the Disk Safe file are not counted against the quota. You can find a description of deltas in Disk Safes.
Note
Similar to a database, the Disk Safe format adds overhead to the raw data. This can happen if you delete more deltas from the Disk Safe than you add. For example, you delete a large number of data from the data set you are protecting. That data are no longer retained in any of your Recovery Points. As old Recovery Points are merged out and block-level deltas are no longer needed, they are "freed" from the Disk Safe file. Until there is a vacuum of the Disk, the size of the Disk Safe .db file(s) will not get smaller. You can run vacuuming but it is time-consuming, causes internal fragmentation of the .db Disk Safe files, and can affect the files' performance. - Soft Quota. The value in bytes or in deltas. Soft Quota is a warning level where users are informed they are close to reaching their effective limit.
- Hard Quota. The value in bytes or in deltas. Hard Quota allows resources to be occupied by data. If the Hard Quota is reached, then the system forbids generating new Recovery Points. The replication is interrupted and failed.
- Quota Type. If you select On Disk Size in this field, the quota is based on the raw Disk file size of all the Disk Safes and their files in the Volume's folder. If you select Deltas in Disk Safe in this field, the quotas will calculate the sum of the sizes (after compression) of the actual block level deltas in the Disk Safe file. Disk Safe's overhead and unused space in the Disk Safe file are not counted against the quota. You can find a description of deltas in Disk Safes.
- Once the Volume settings are specified, click Save to add the new volume to the system. SBM displays the volume in the list.
Labels:
None